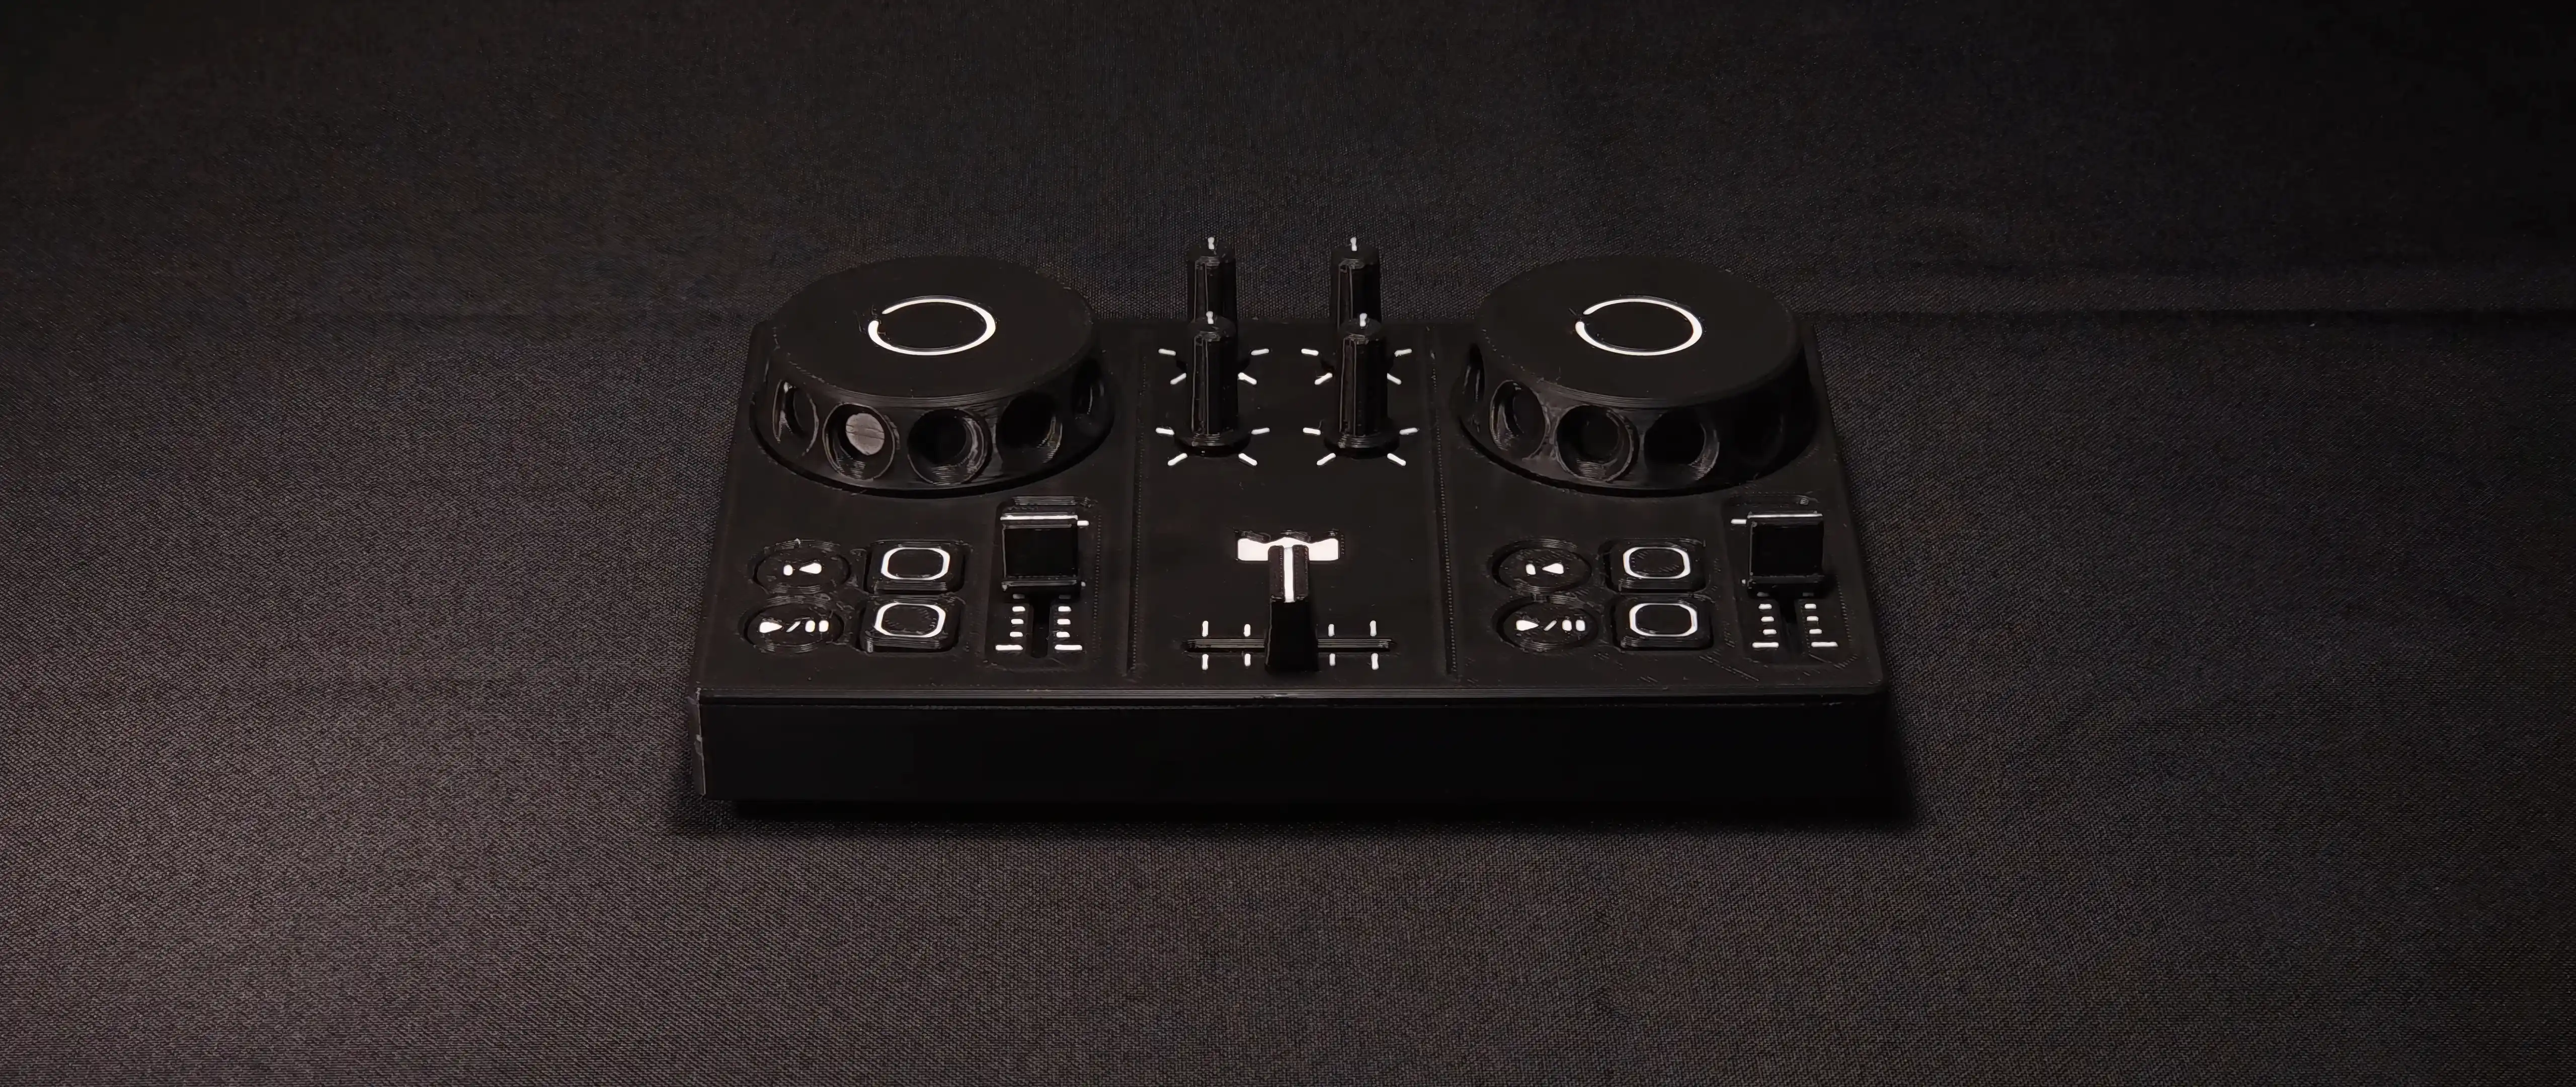
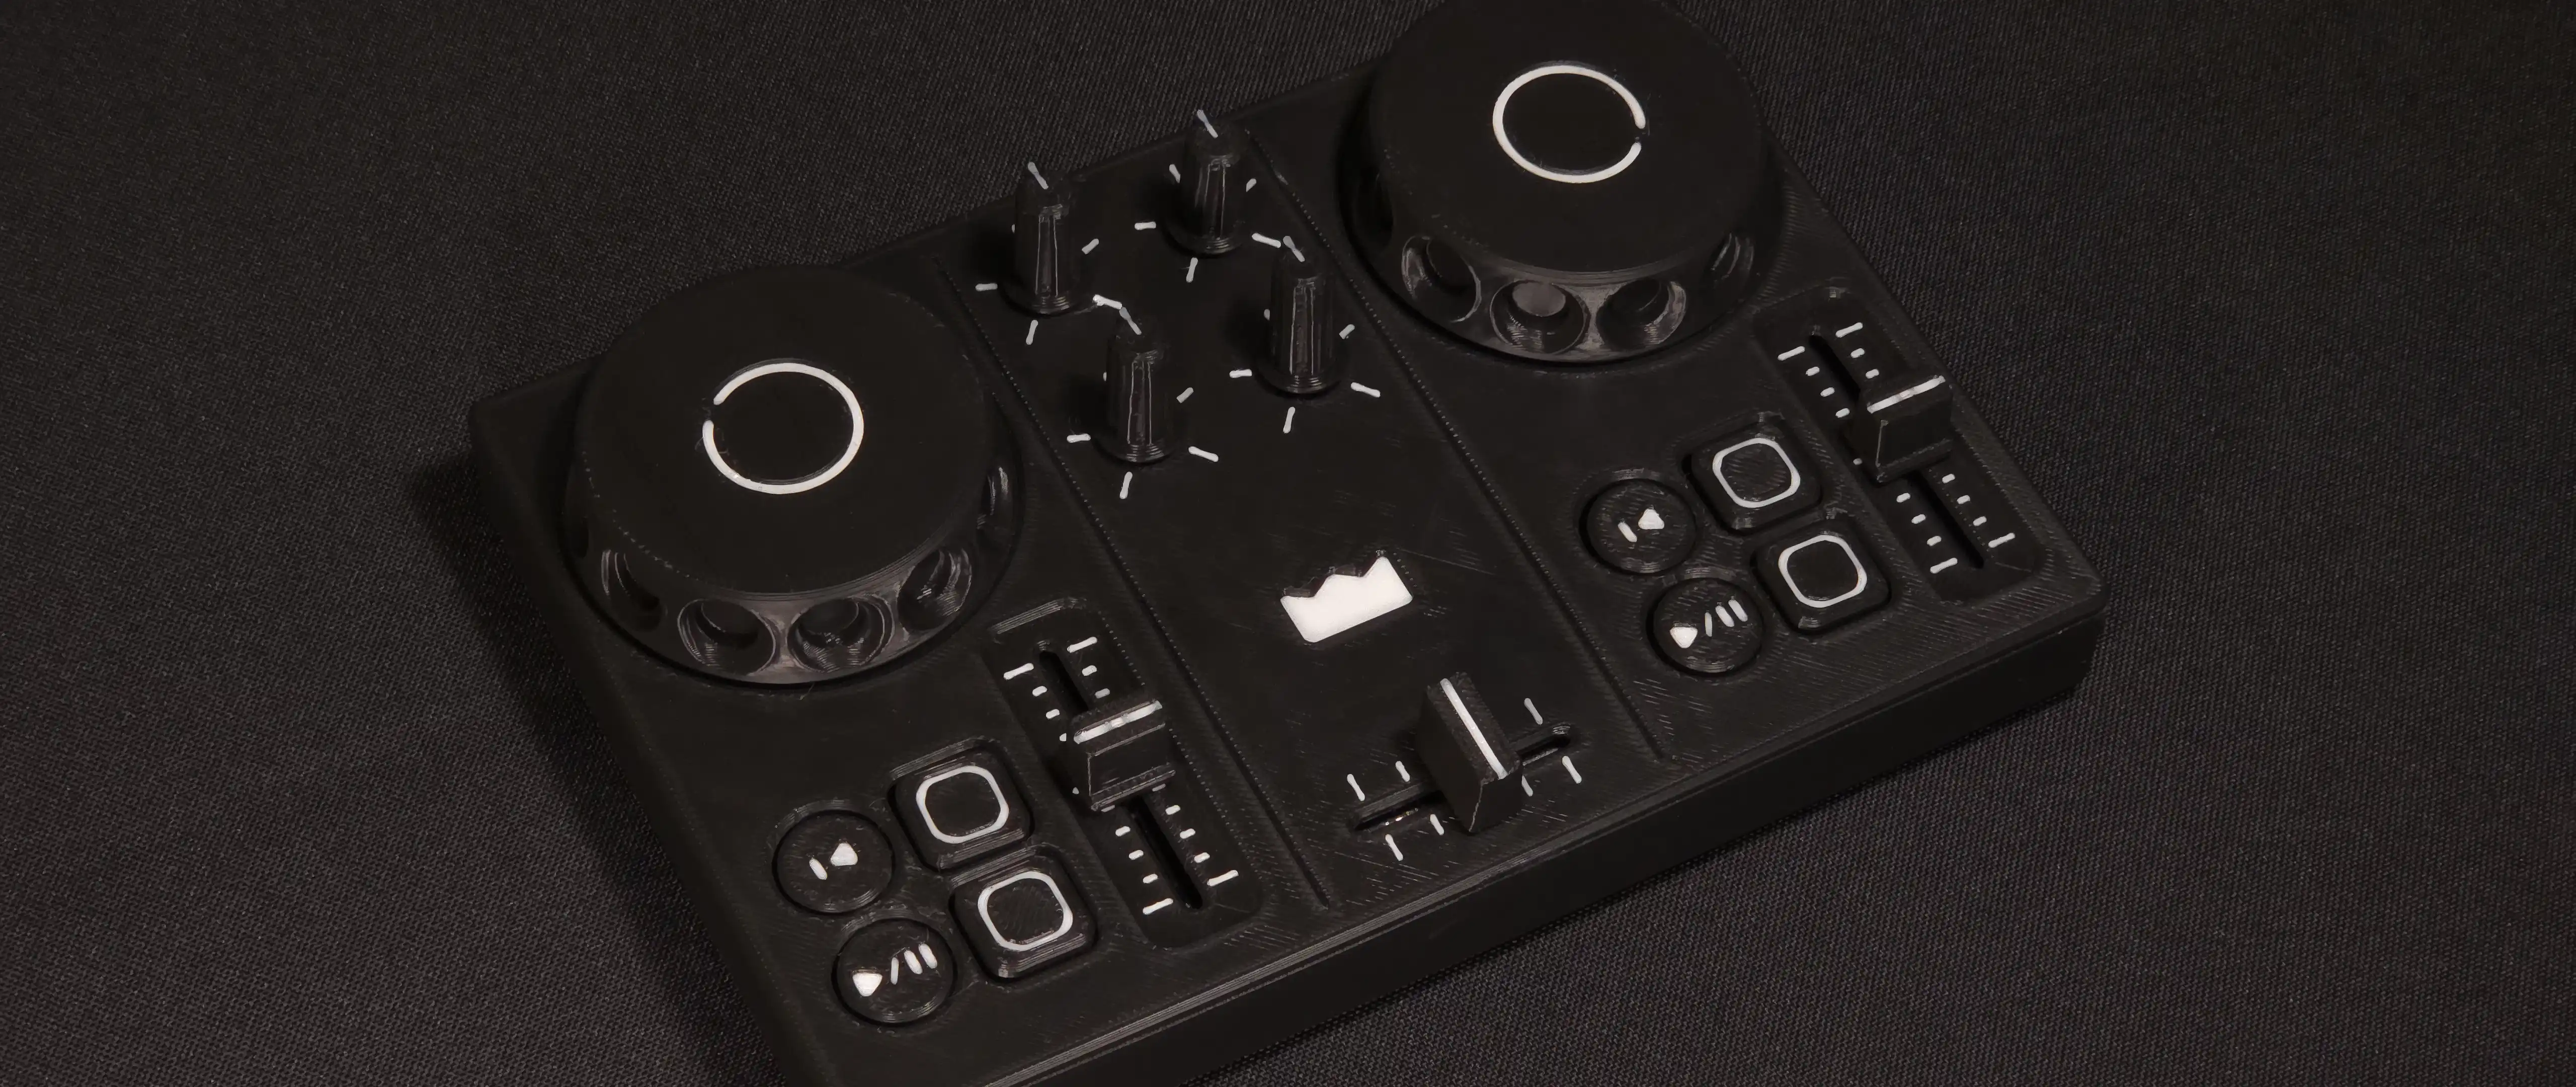
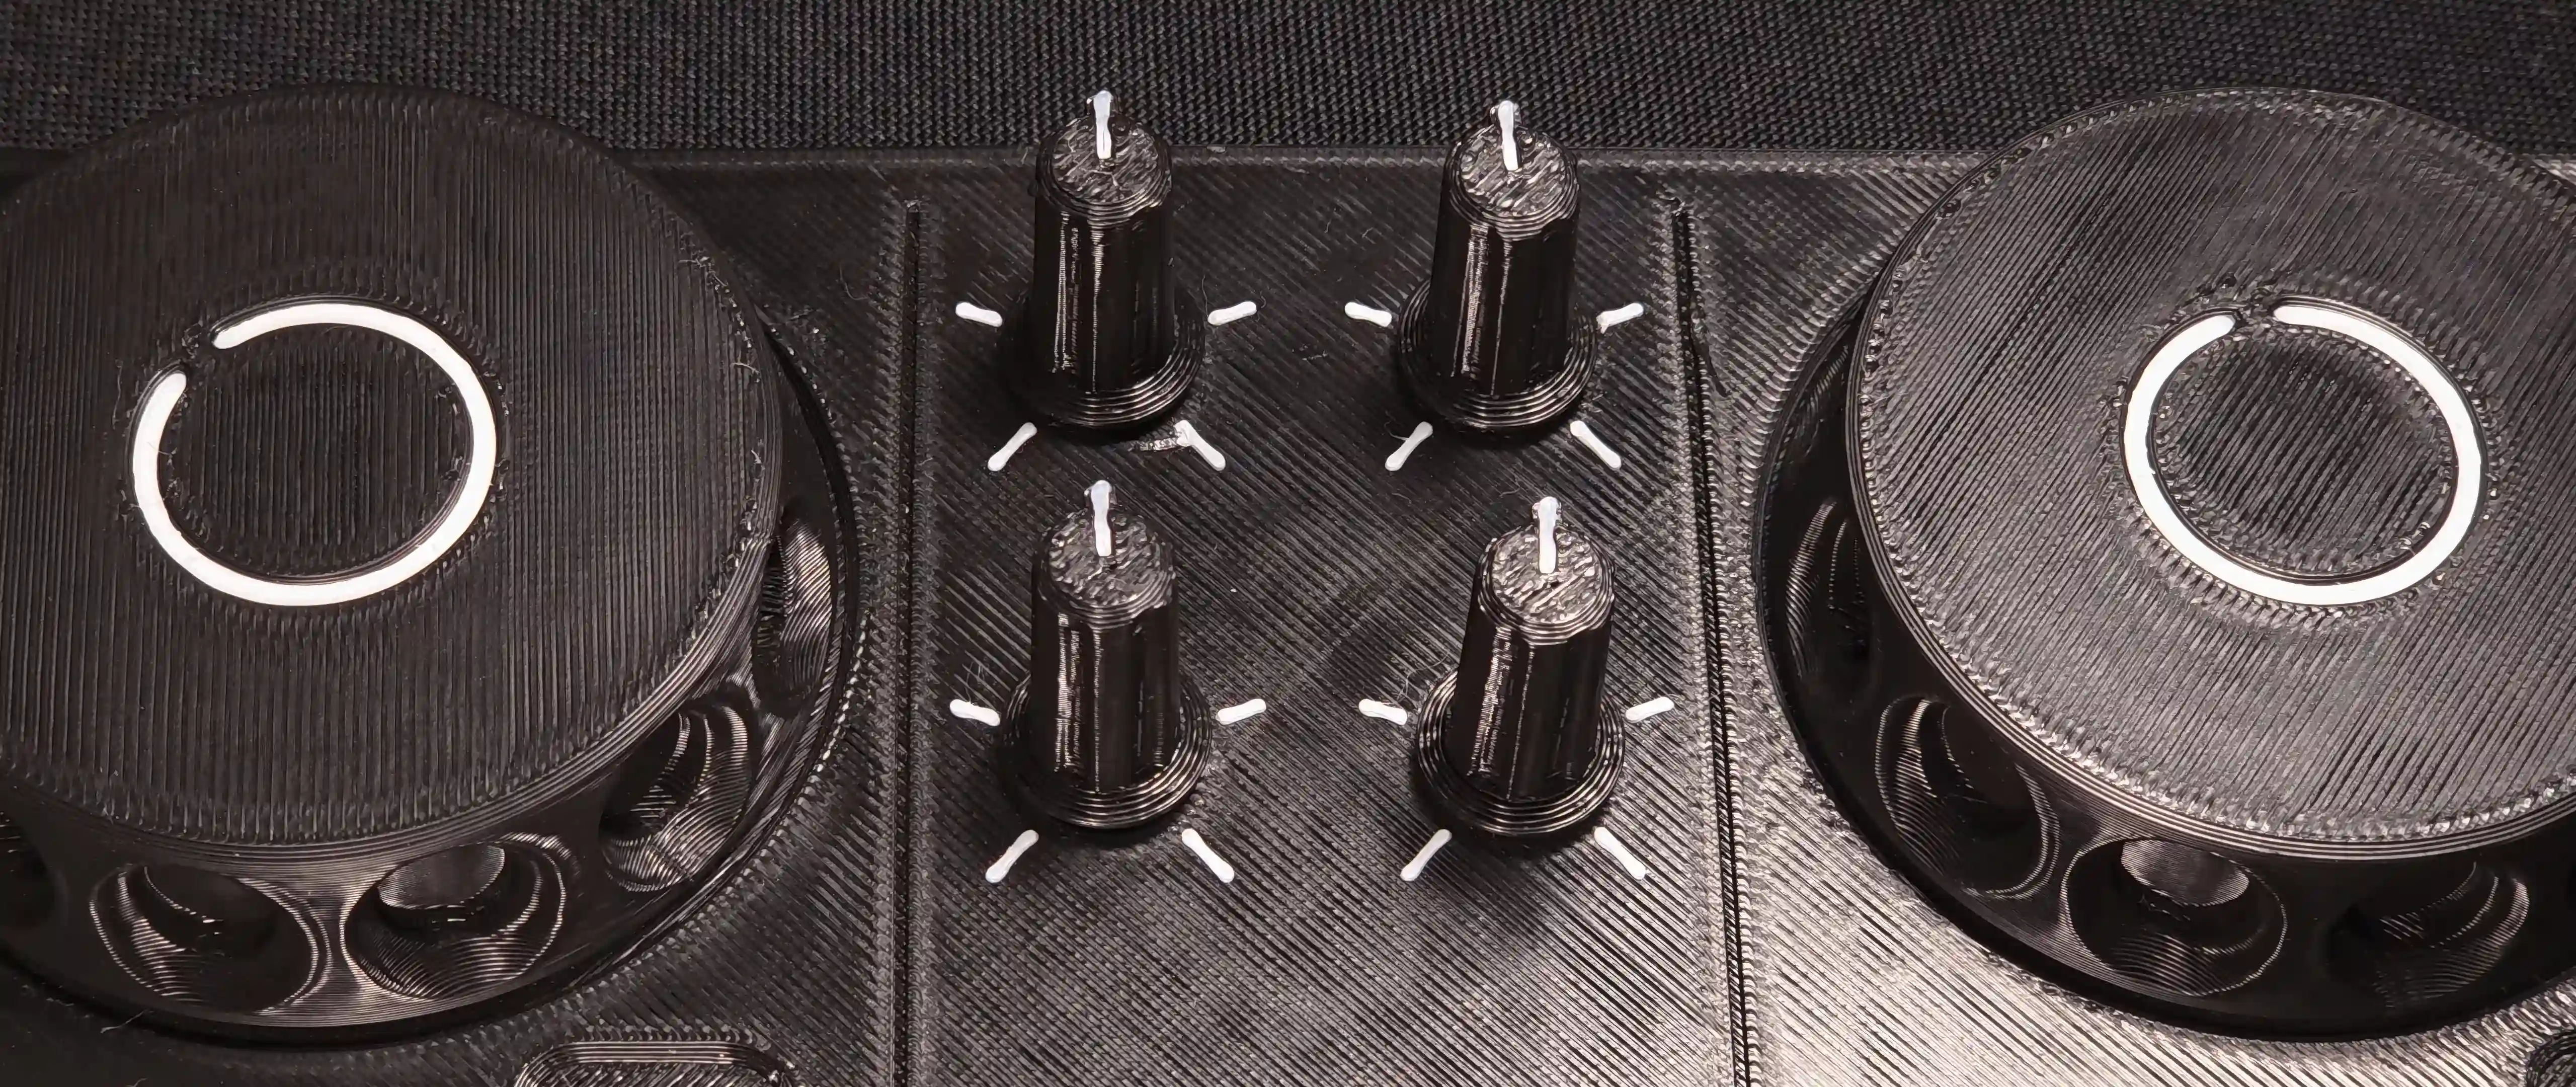
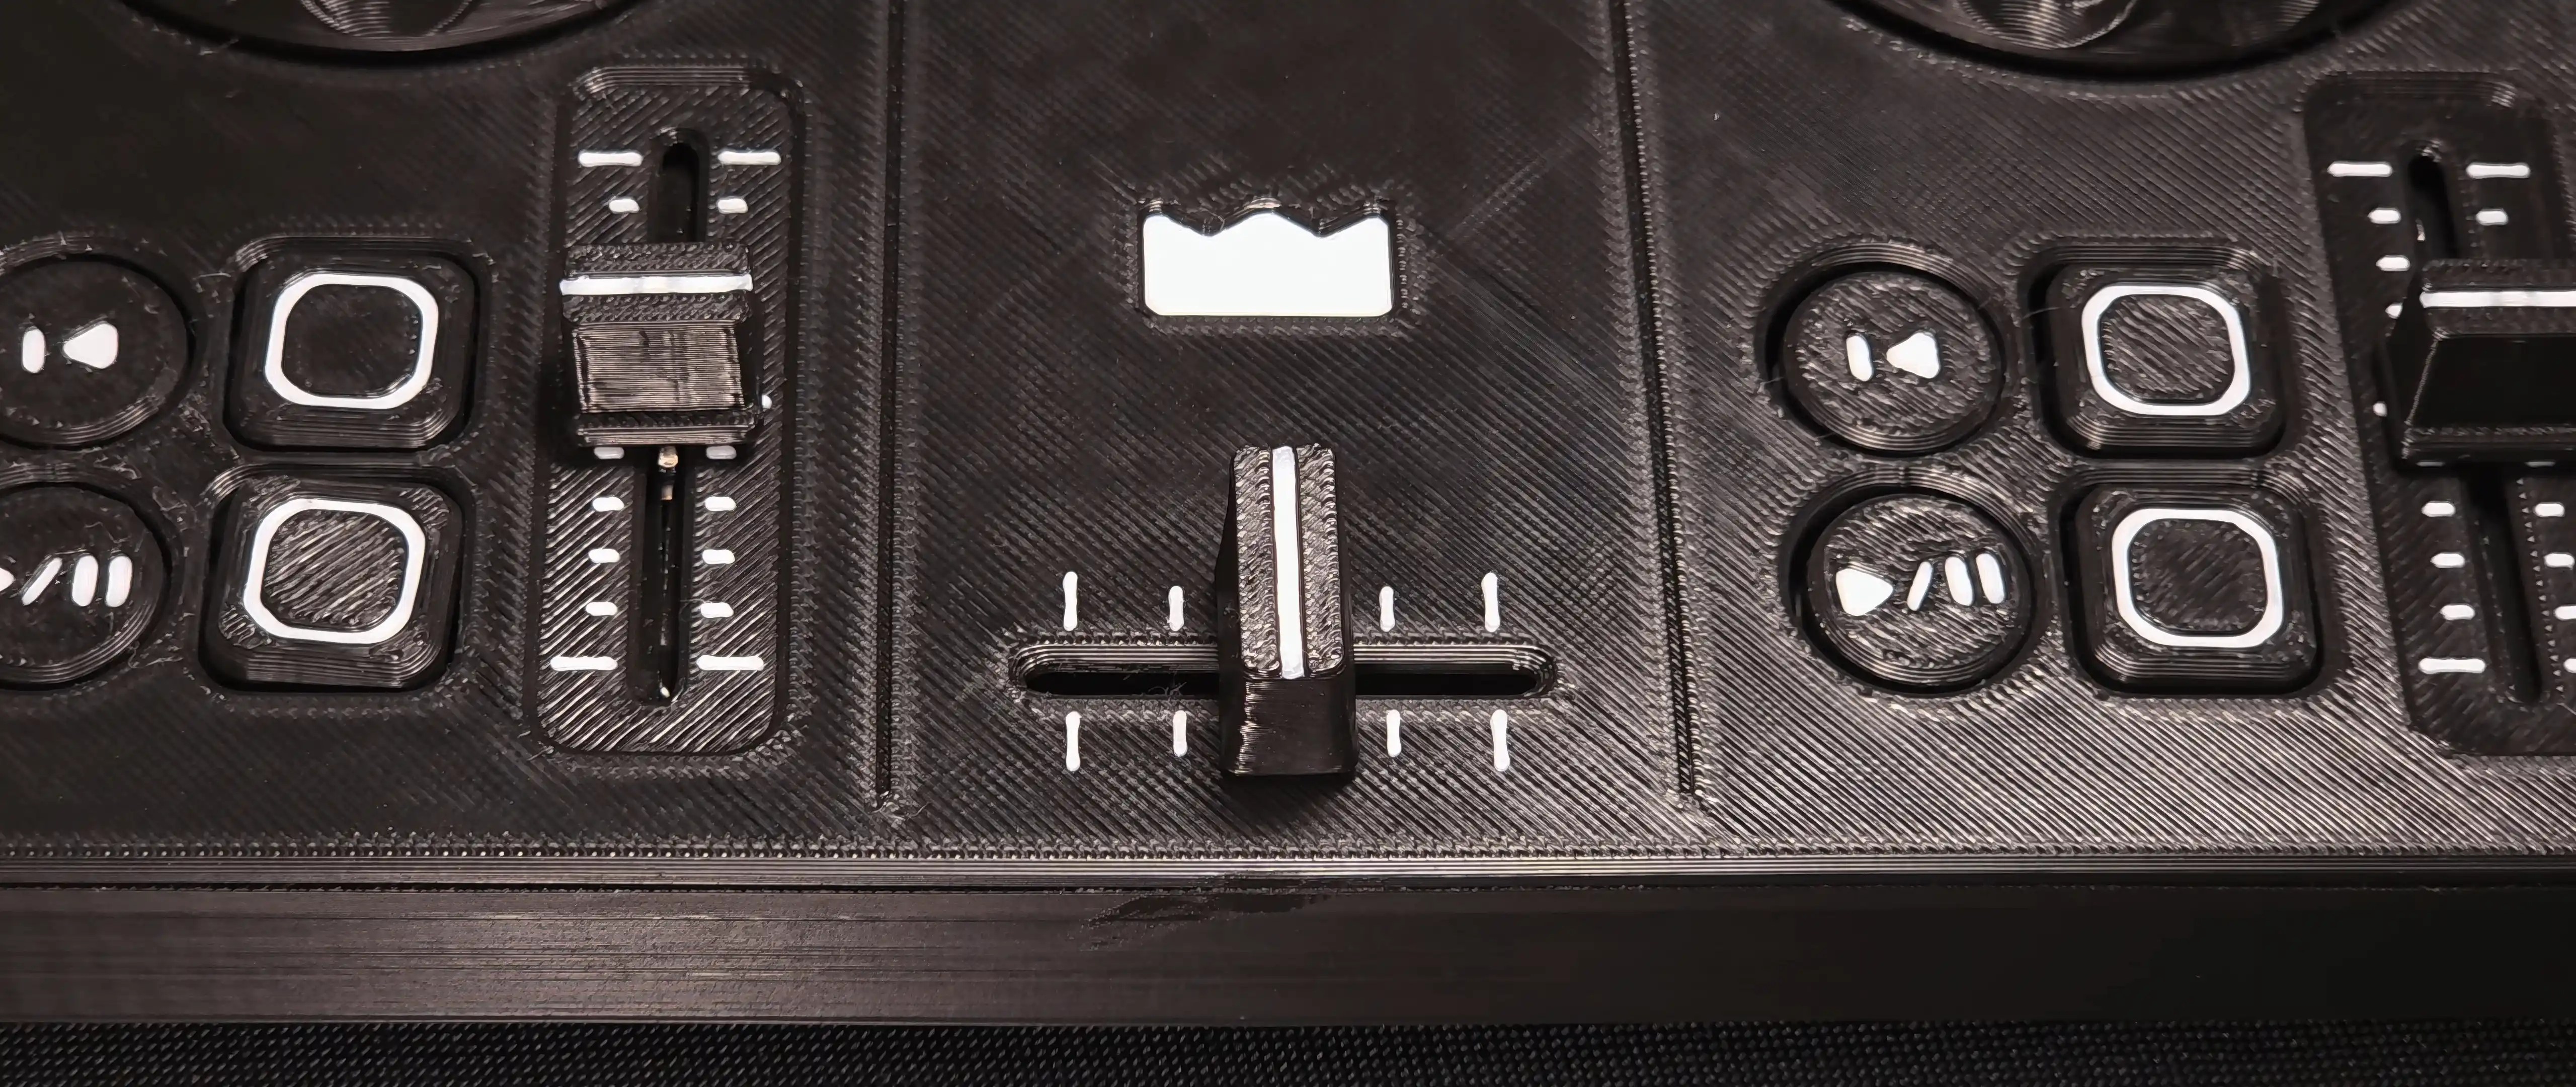
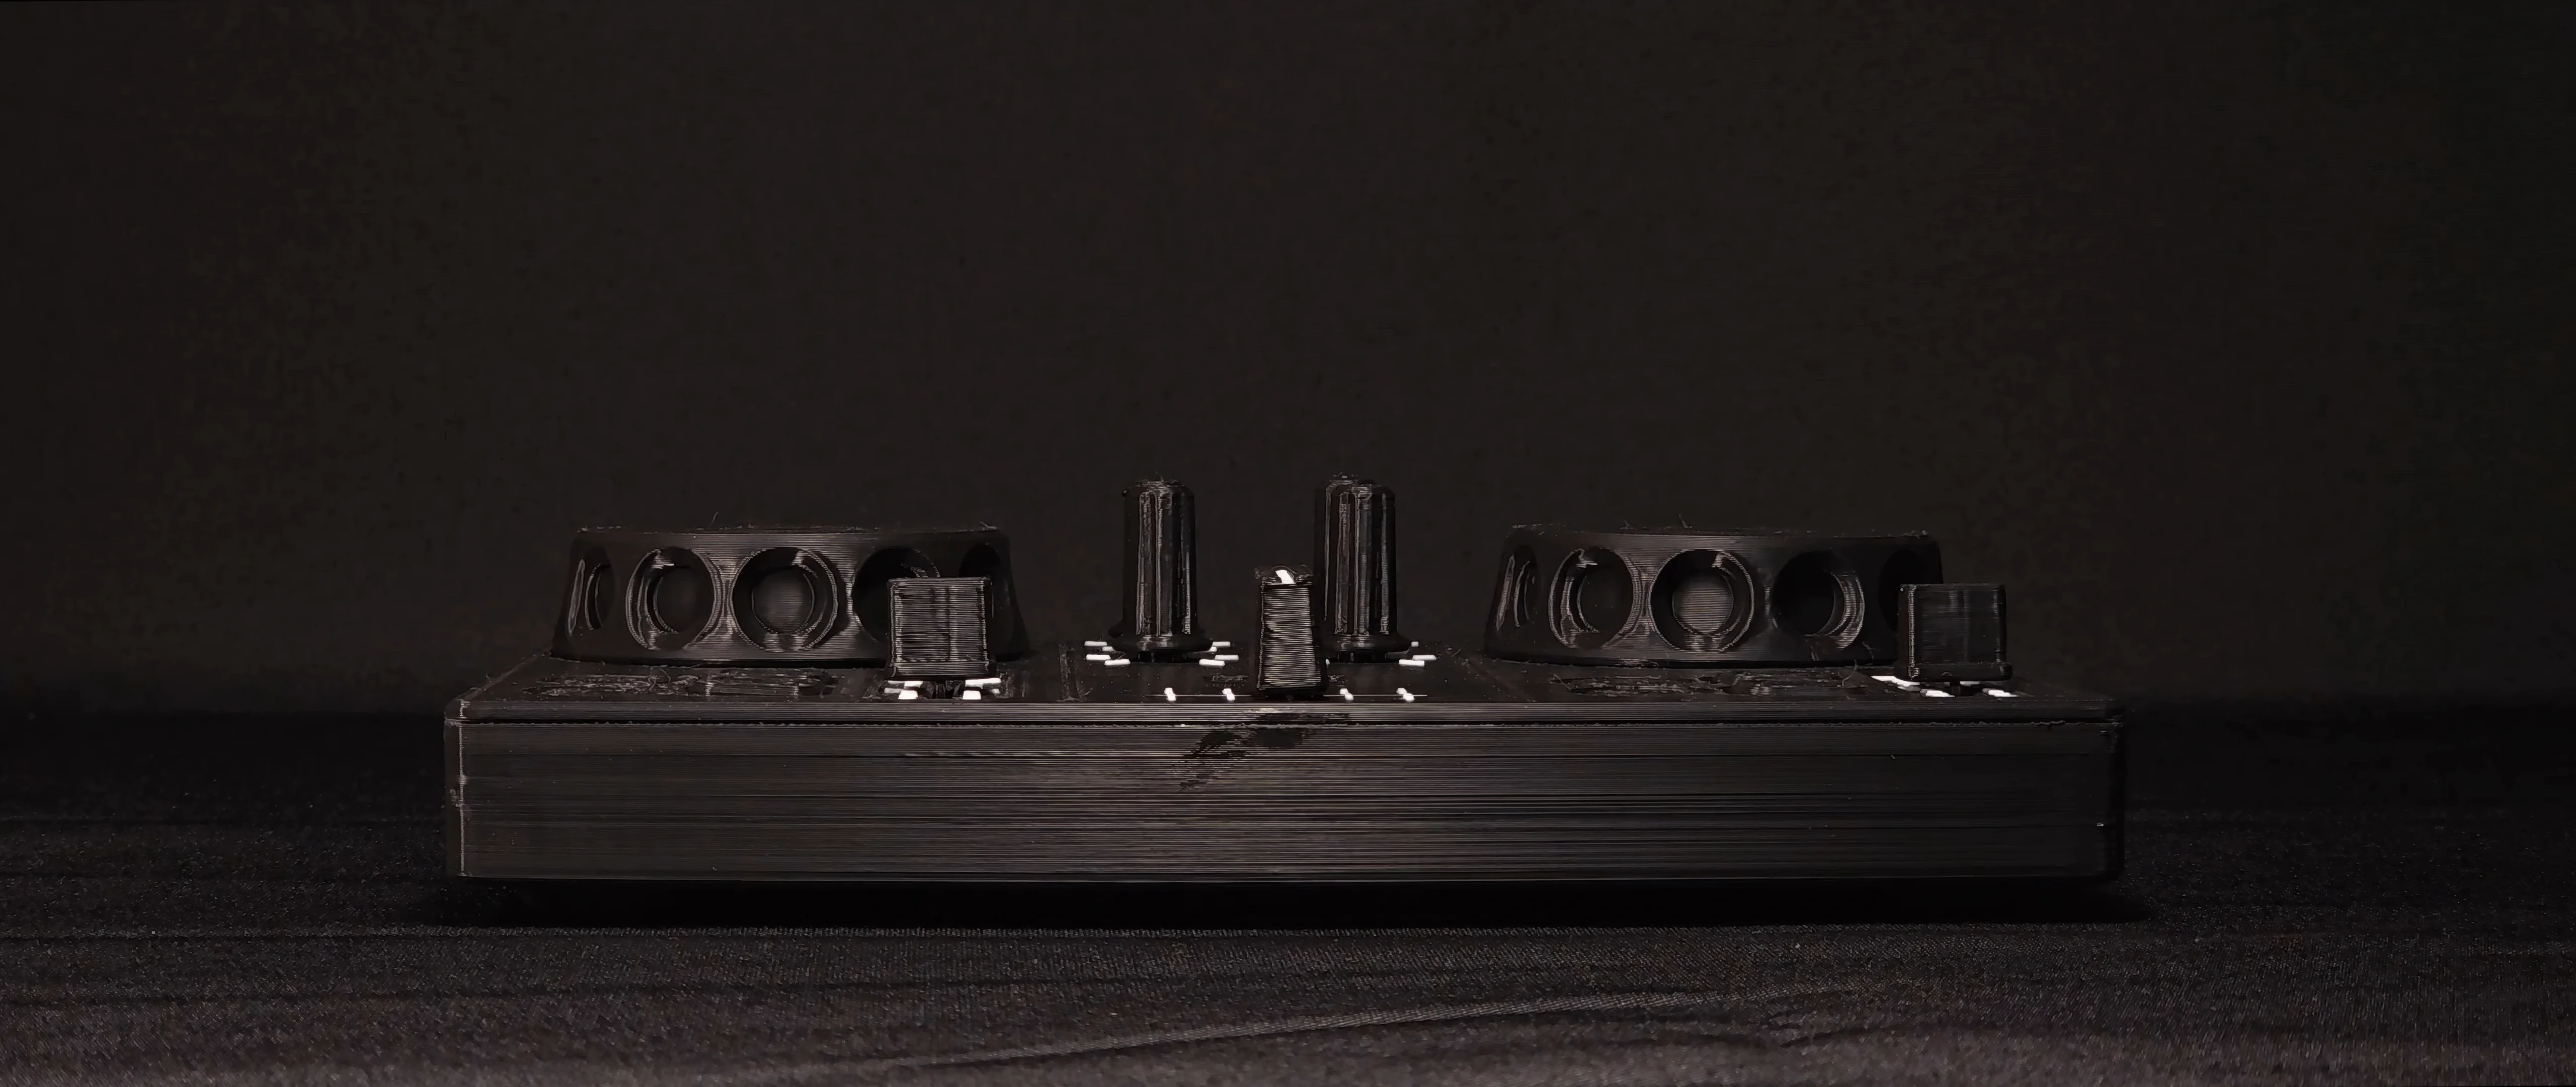
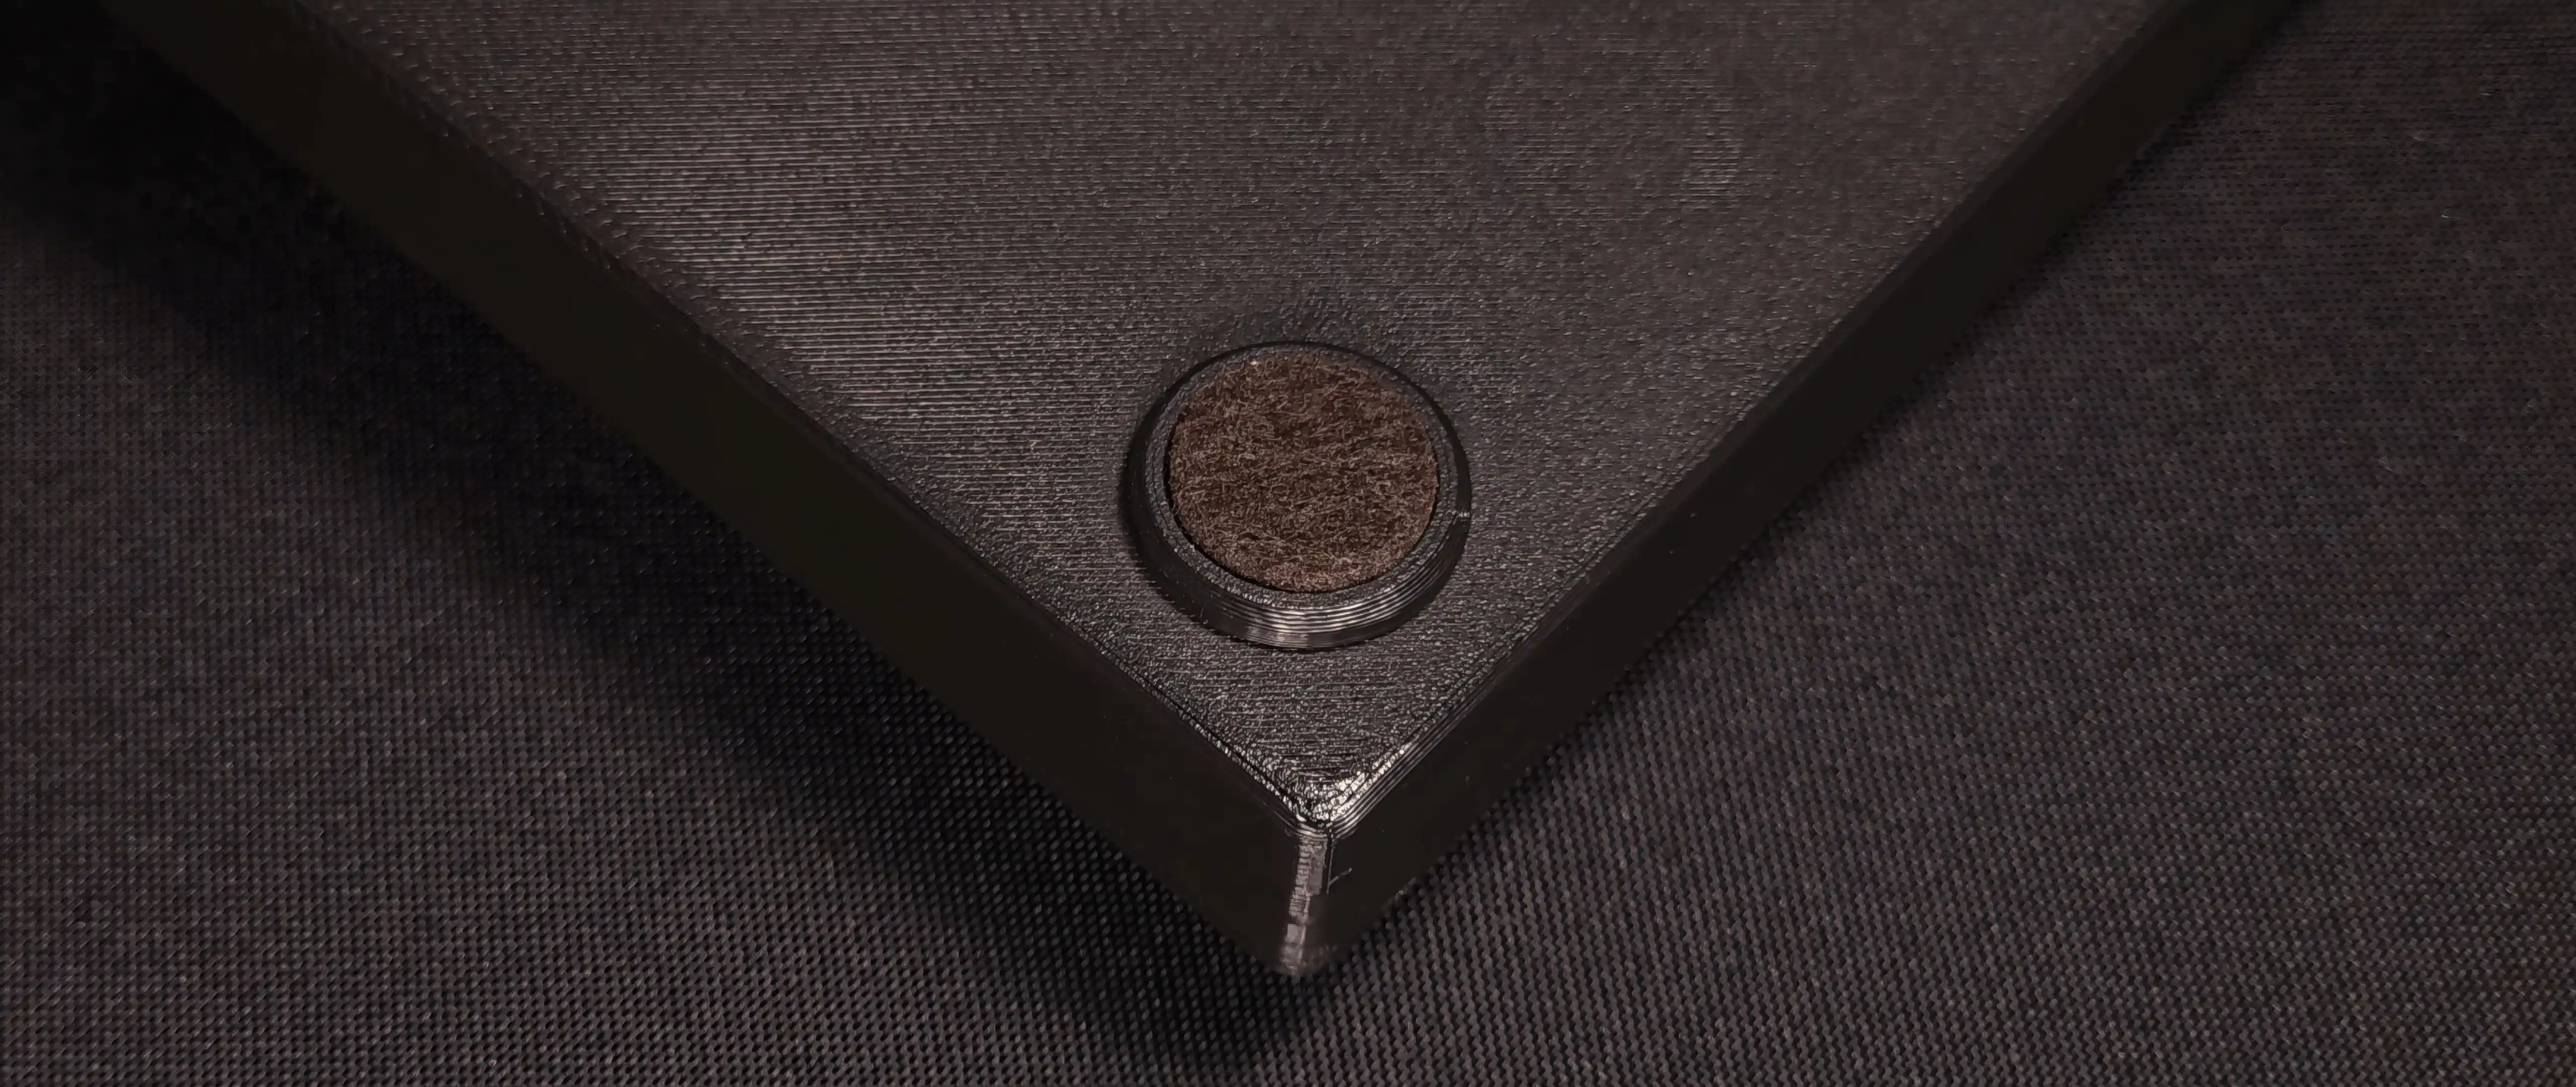
DJC-DIY
DJC-DIY is an open-source DJ controller that you can make at home without special tools, skill or knowledge. It works with Mixxx, open-source DJ software.
DJC-DIY is free and open source, and it will stay that way. If you’d like to support it, you can do so on Ko-fi. It helps keep this and future open-source projects going.
Parts List
Thanks to our sponsor PCBWay, you can now order all 3D printed parts and have them delivered to your door. Not having access to a 3D printer is no longer a problem.
By ordering through PCBWay, you're also supporting the project and helping future development.
Specs
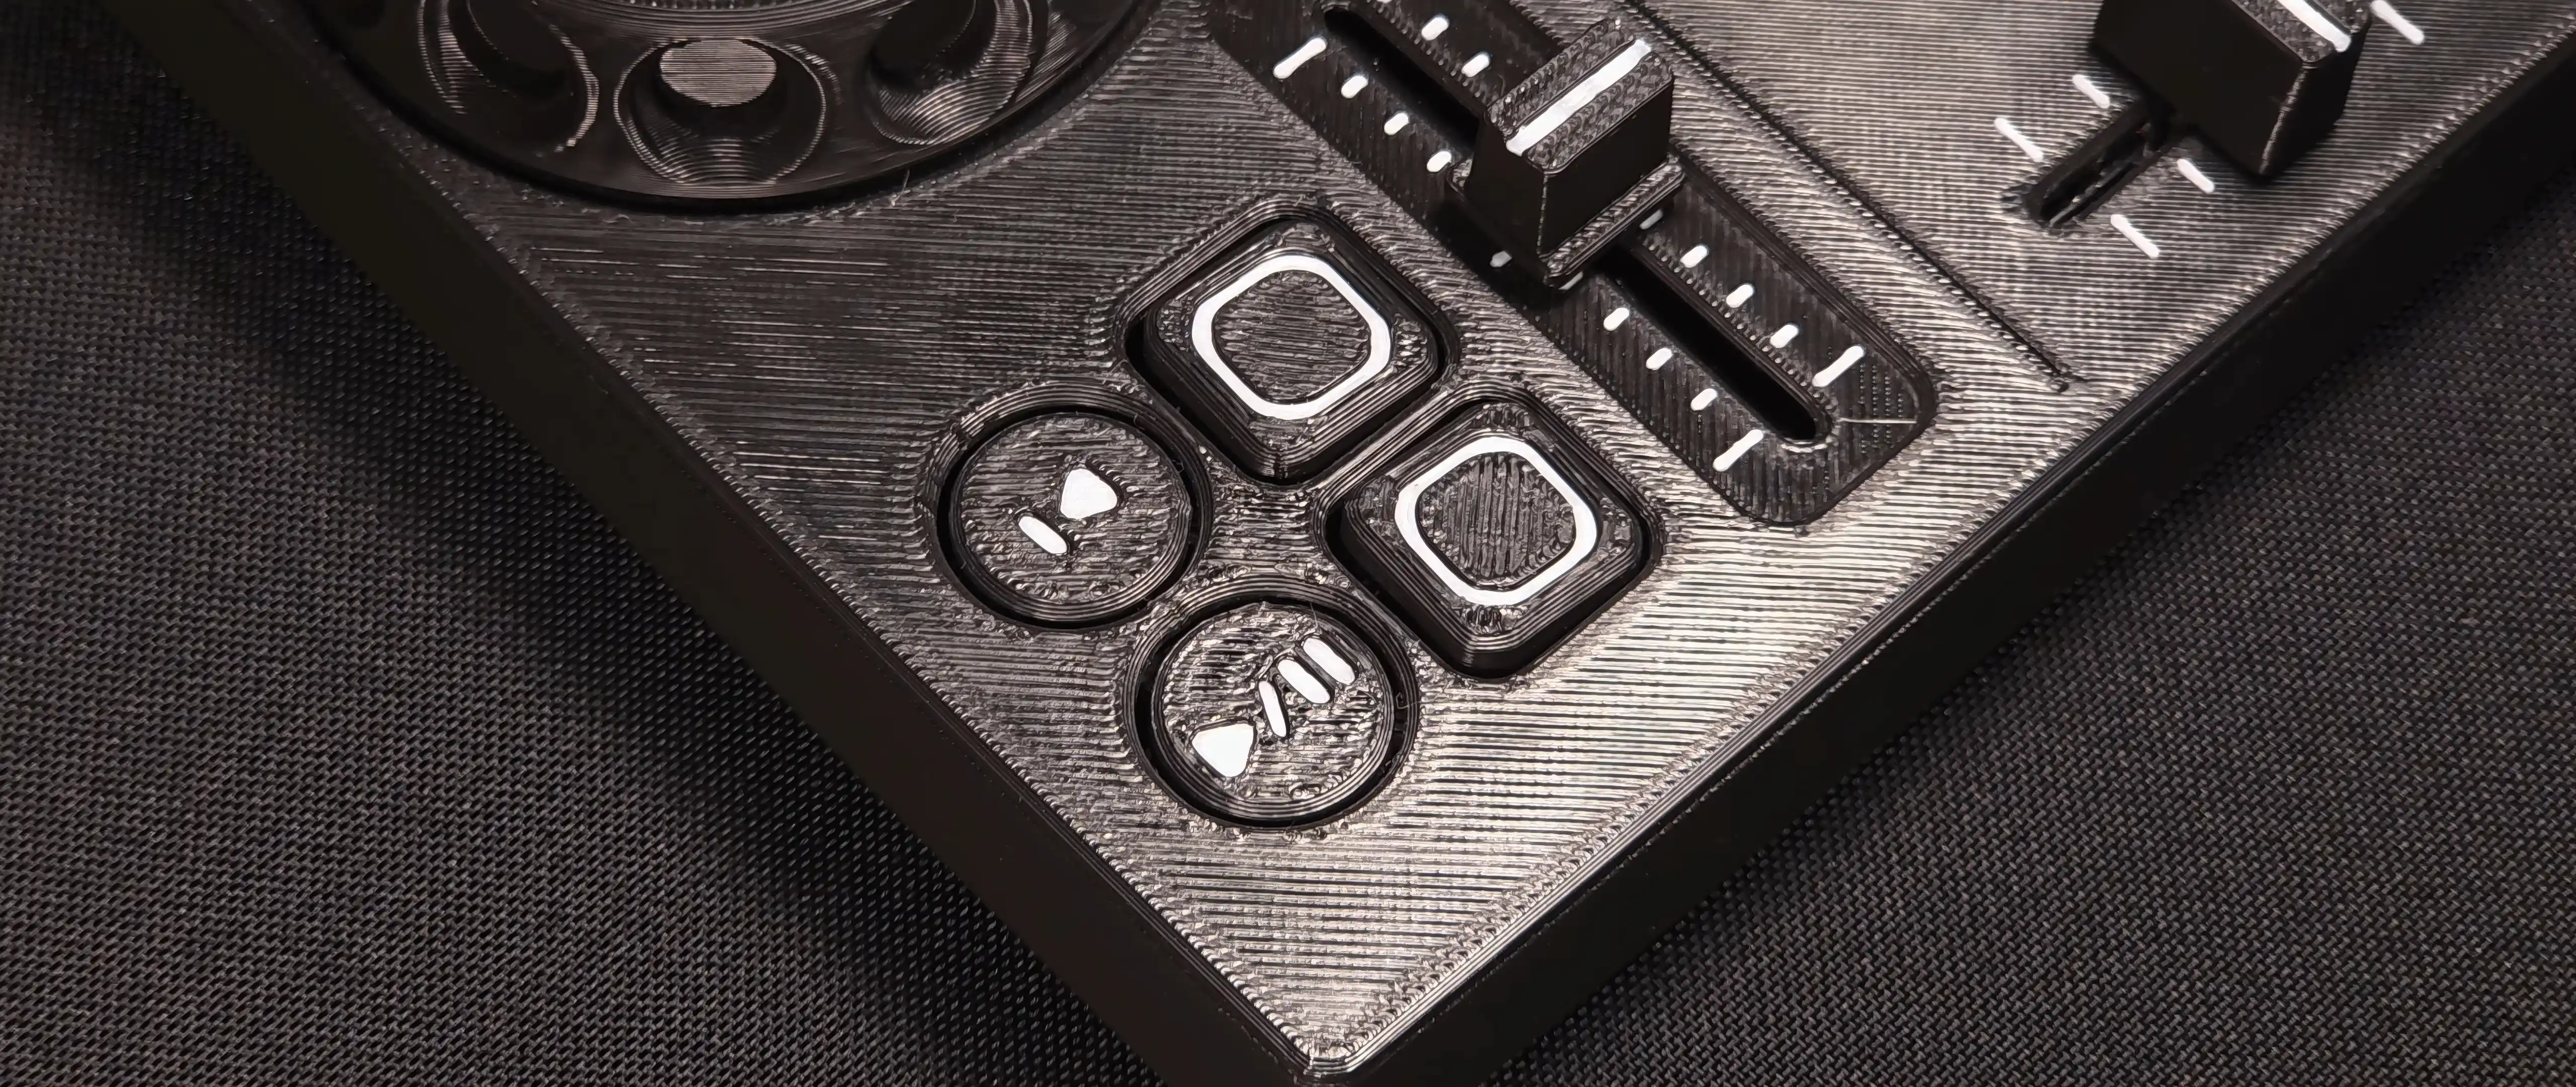
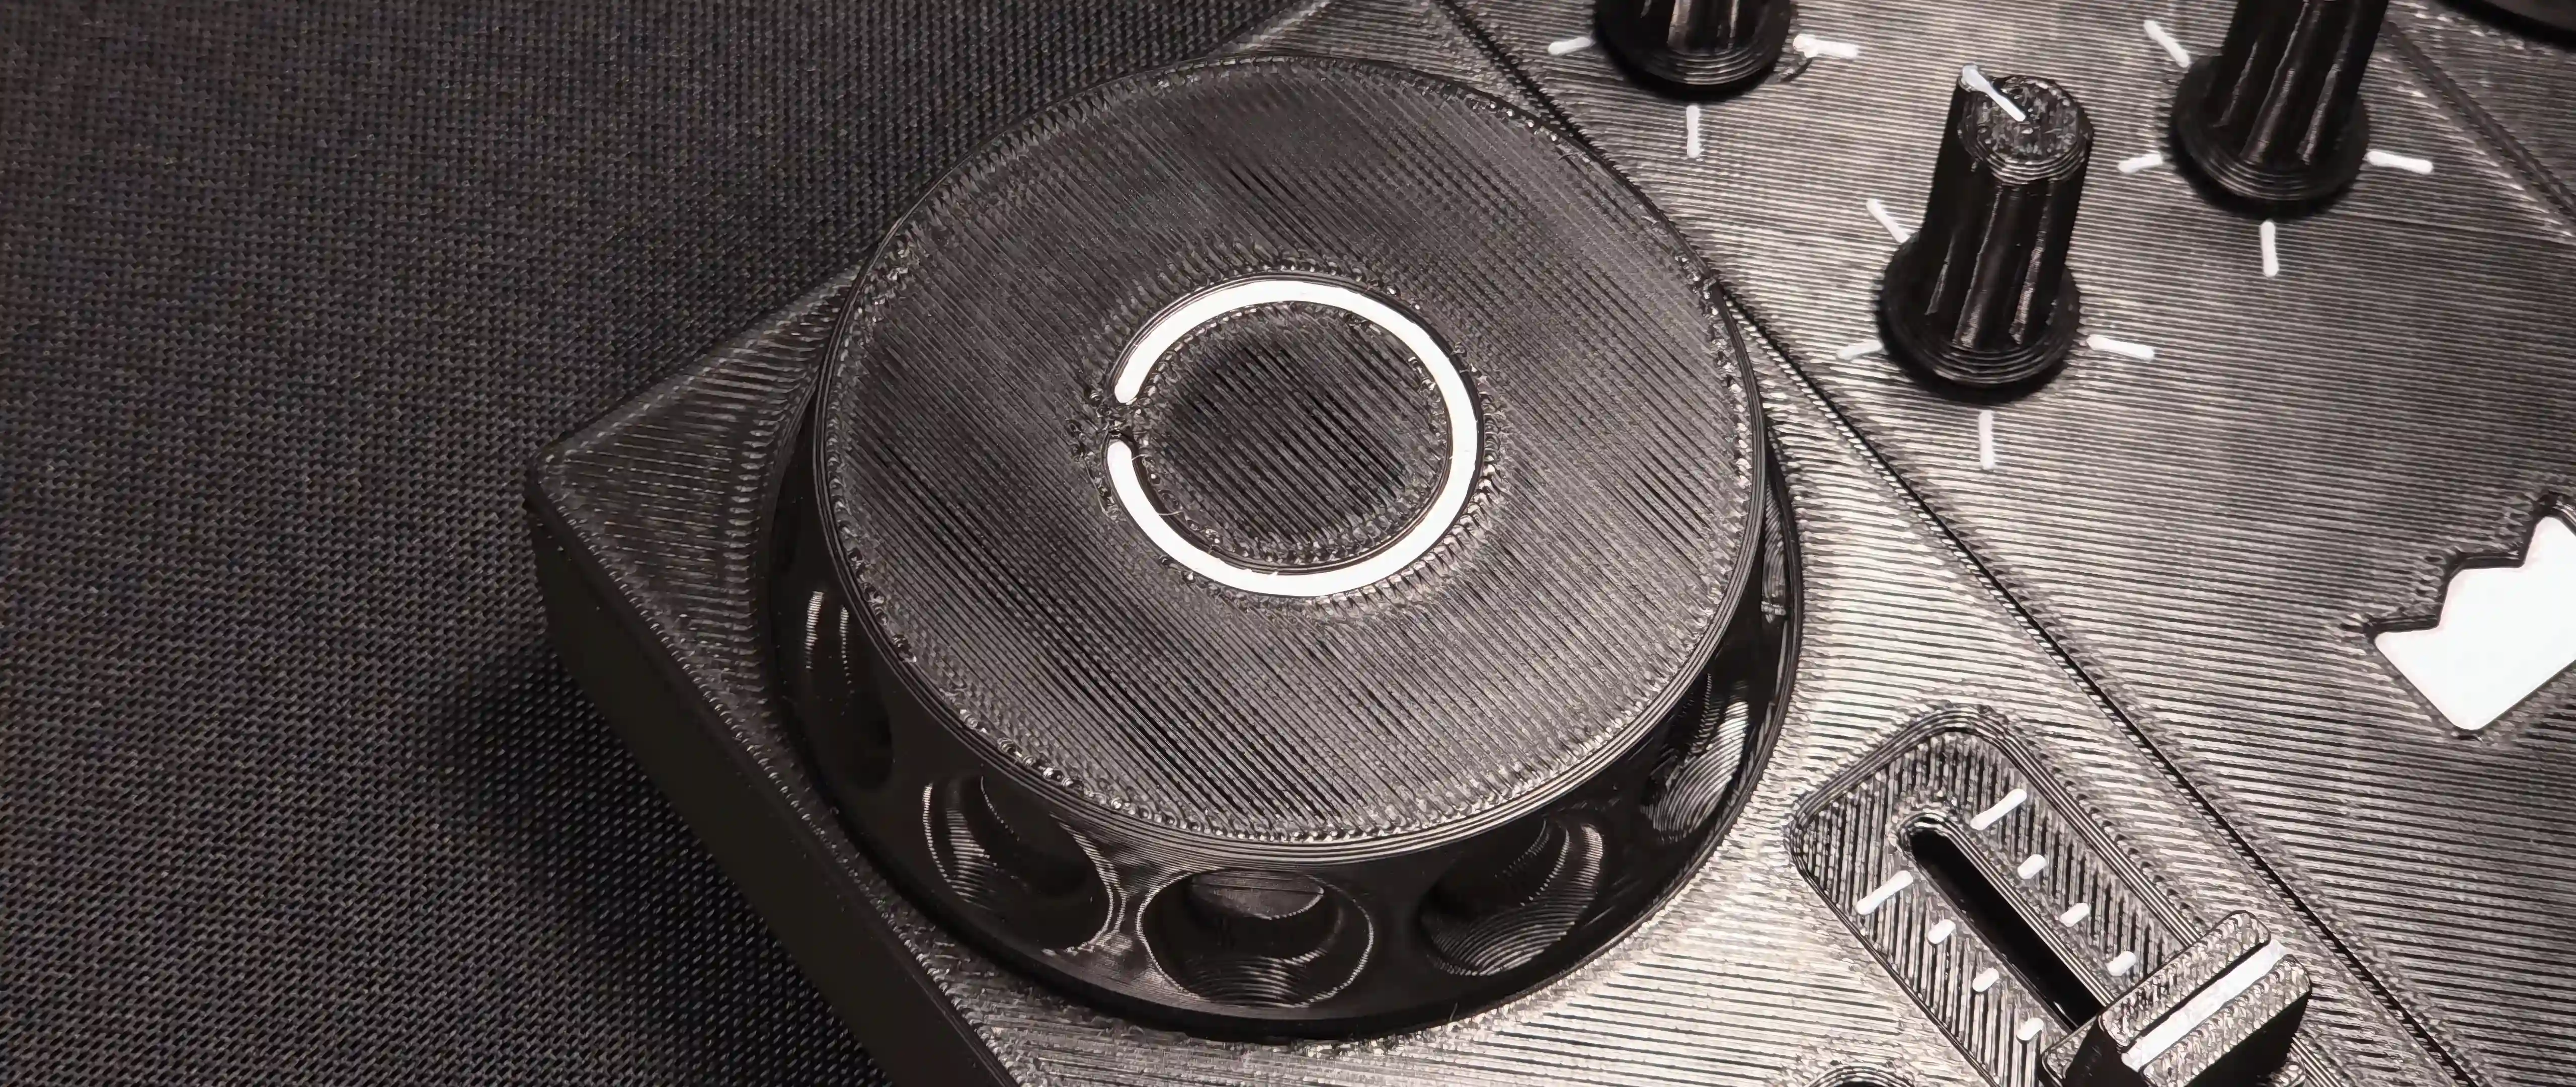
DJC-DIY consists of two decks and a mixer.
The FX knobs can also be remapped for other functions, such as additional EQ controls or channel volume.
Info
A preview, detailed build tutorial, and professional DJ demo are available on YouTube.
DJC-DIY was designed so its parts can be printed even on very small 3D printers. If you do not have access to a 3D printer, the printed parts can be ordered from PCBWay.
Gallery
Built one yourself? Post a photo in the Discord community, in the #🖼️lab-gallery channel, and it can end up here. You can add your social media tags, and a few words about your build.
By posting there, you agree that MandićLab may freely use your photos and videos for promotional and commercial purposes.
Assembly Guide
Acquire all electronic components from the electronic components list.
I personally bought everything from Aliexpress and had no problems.
3D print all parts from the 3D printed parts list.
I used max speed, 15% infill, .2mm layer height. Use support where needed.
If something can’t be pulled onto a part, try printing it at 105% scale.
Here you can see an illustrated schematic.
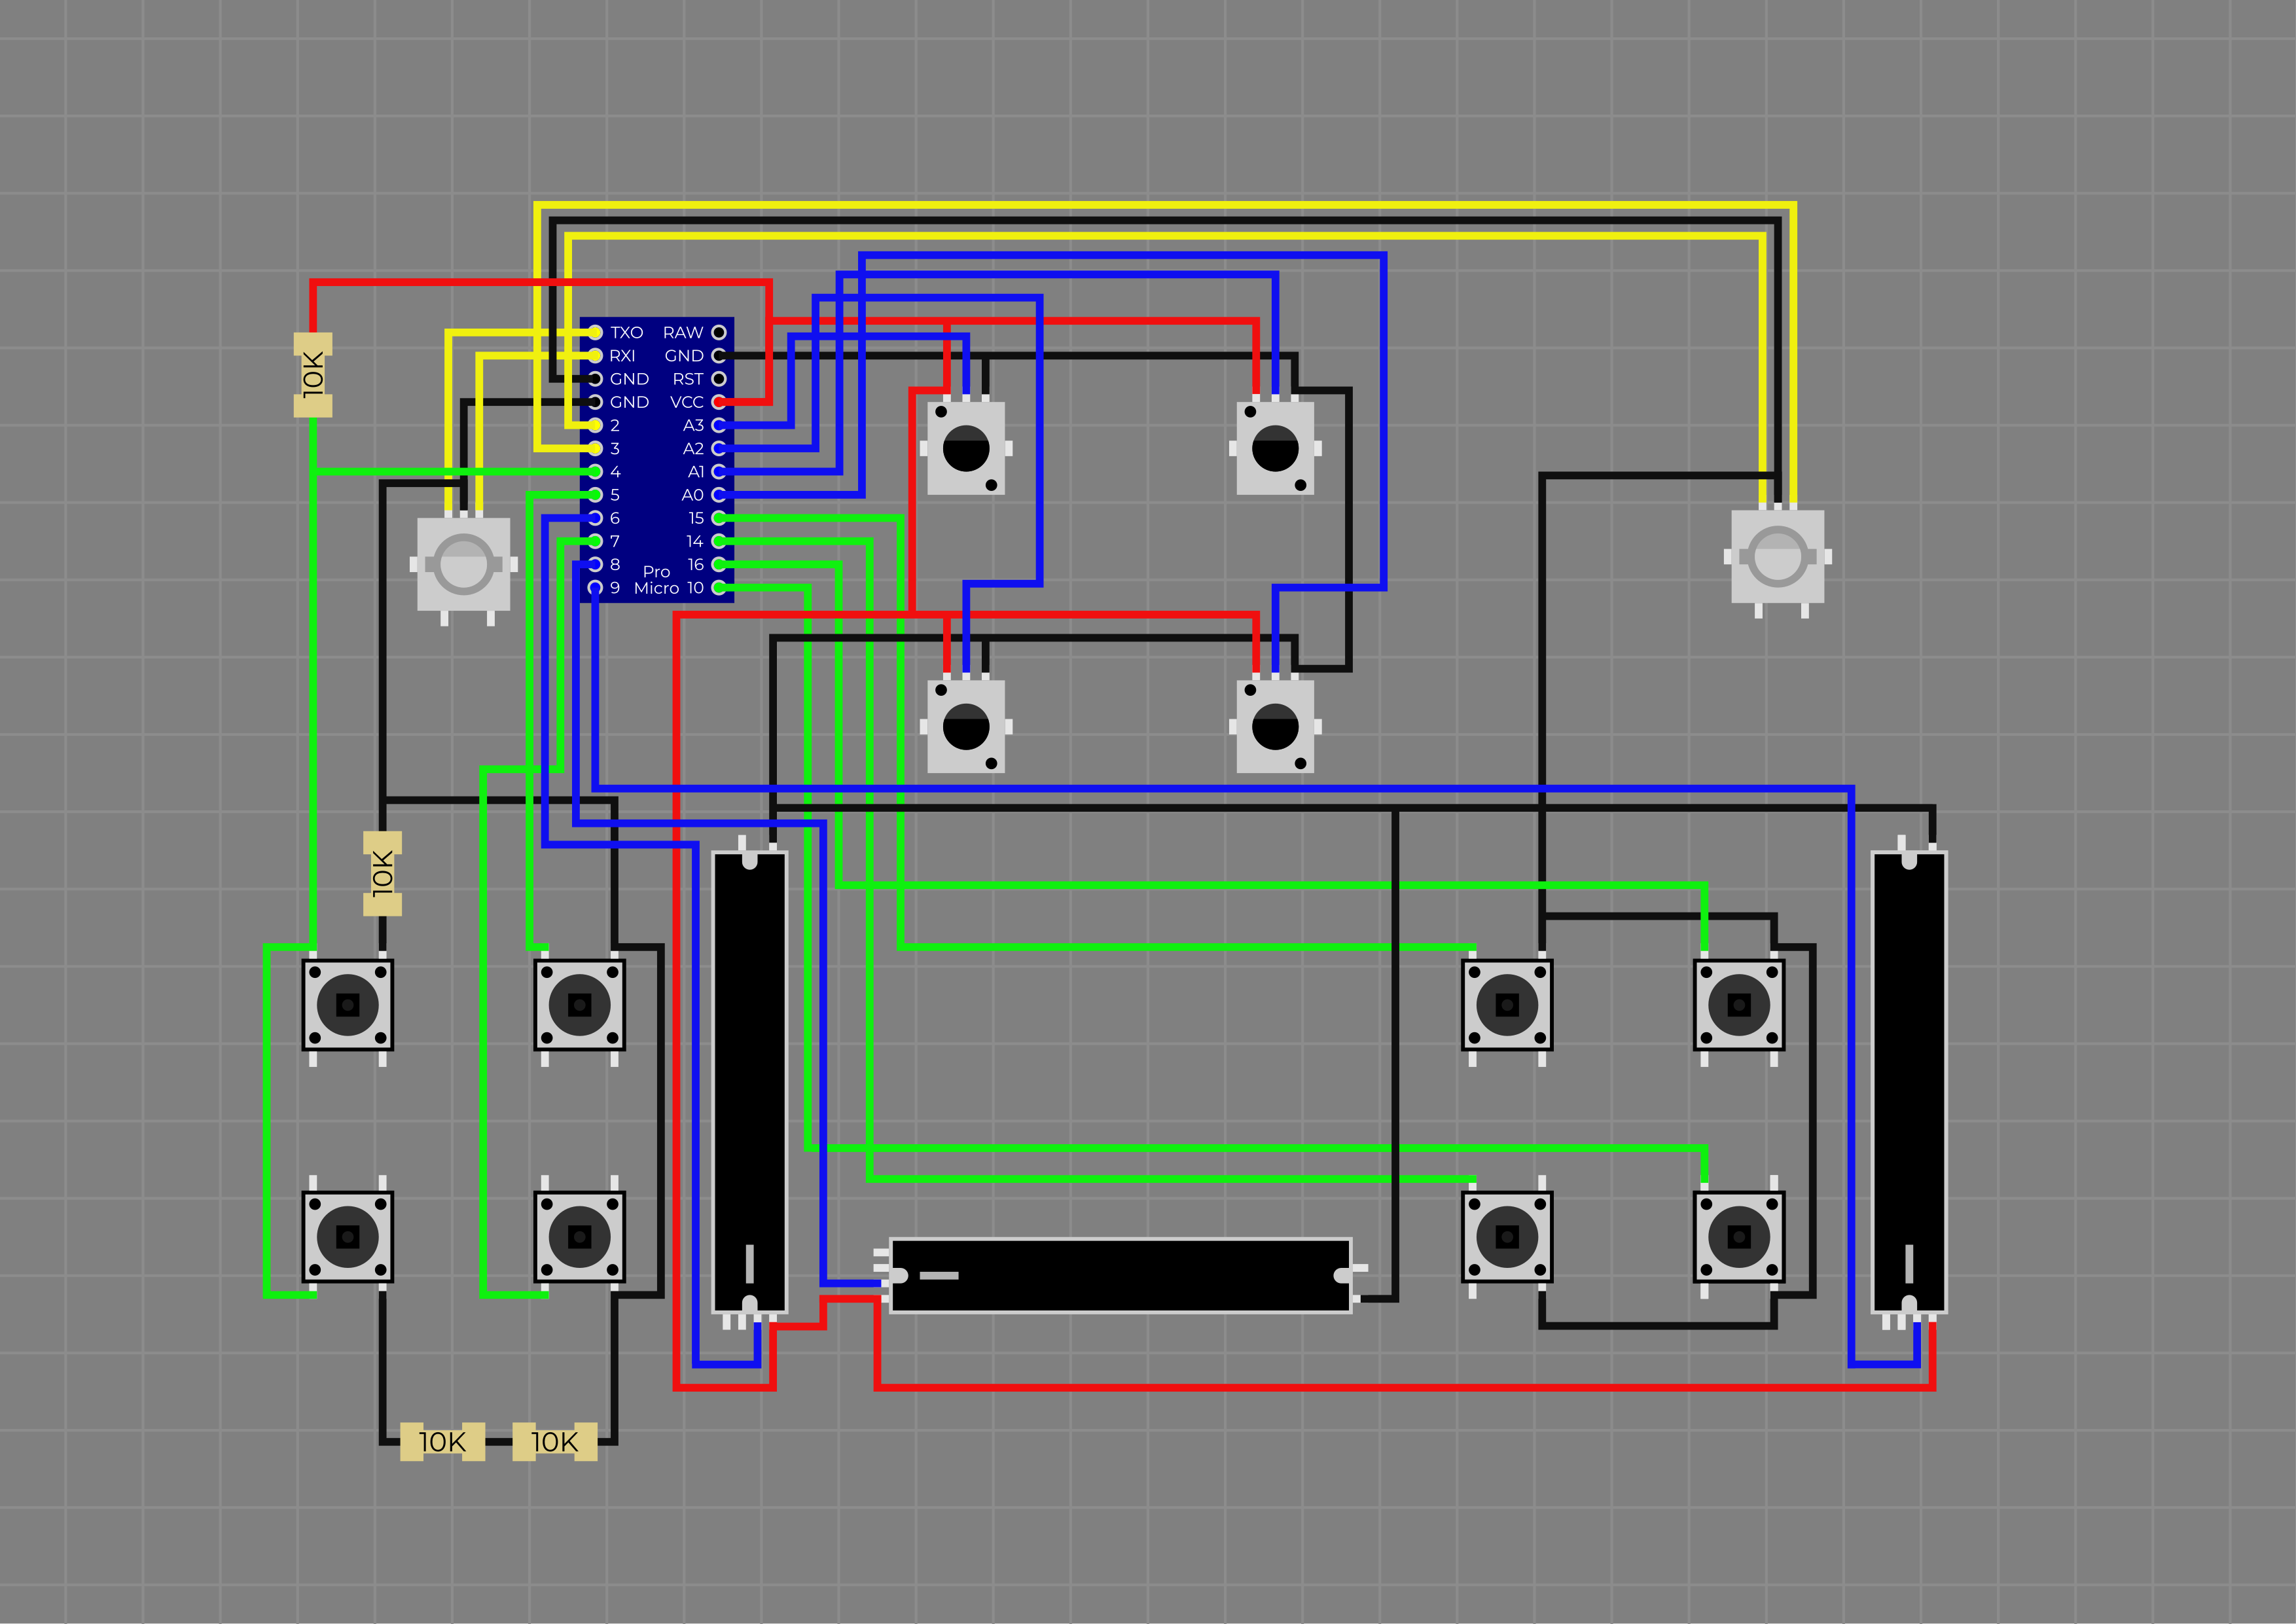
Solder everything as shown.
This is the layout of the electronic components.
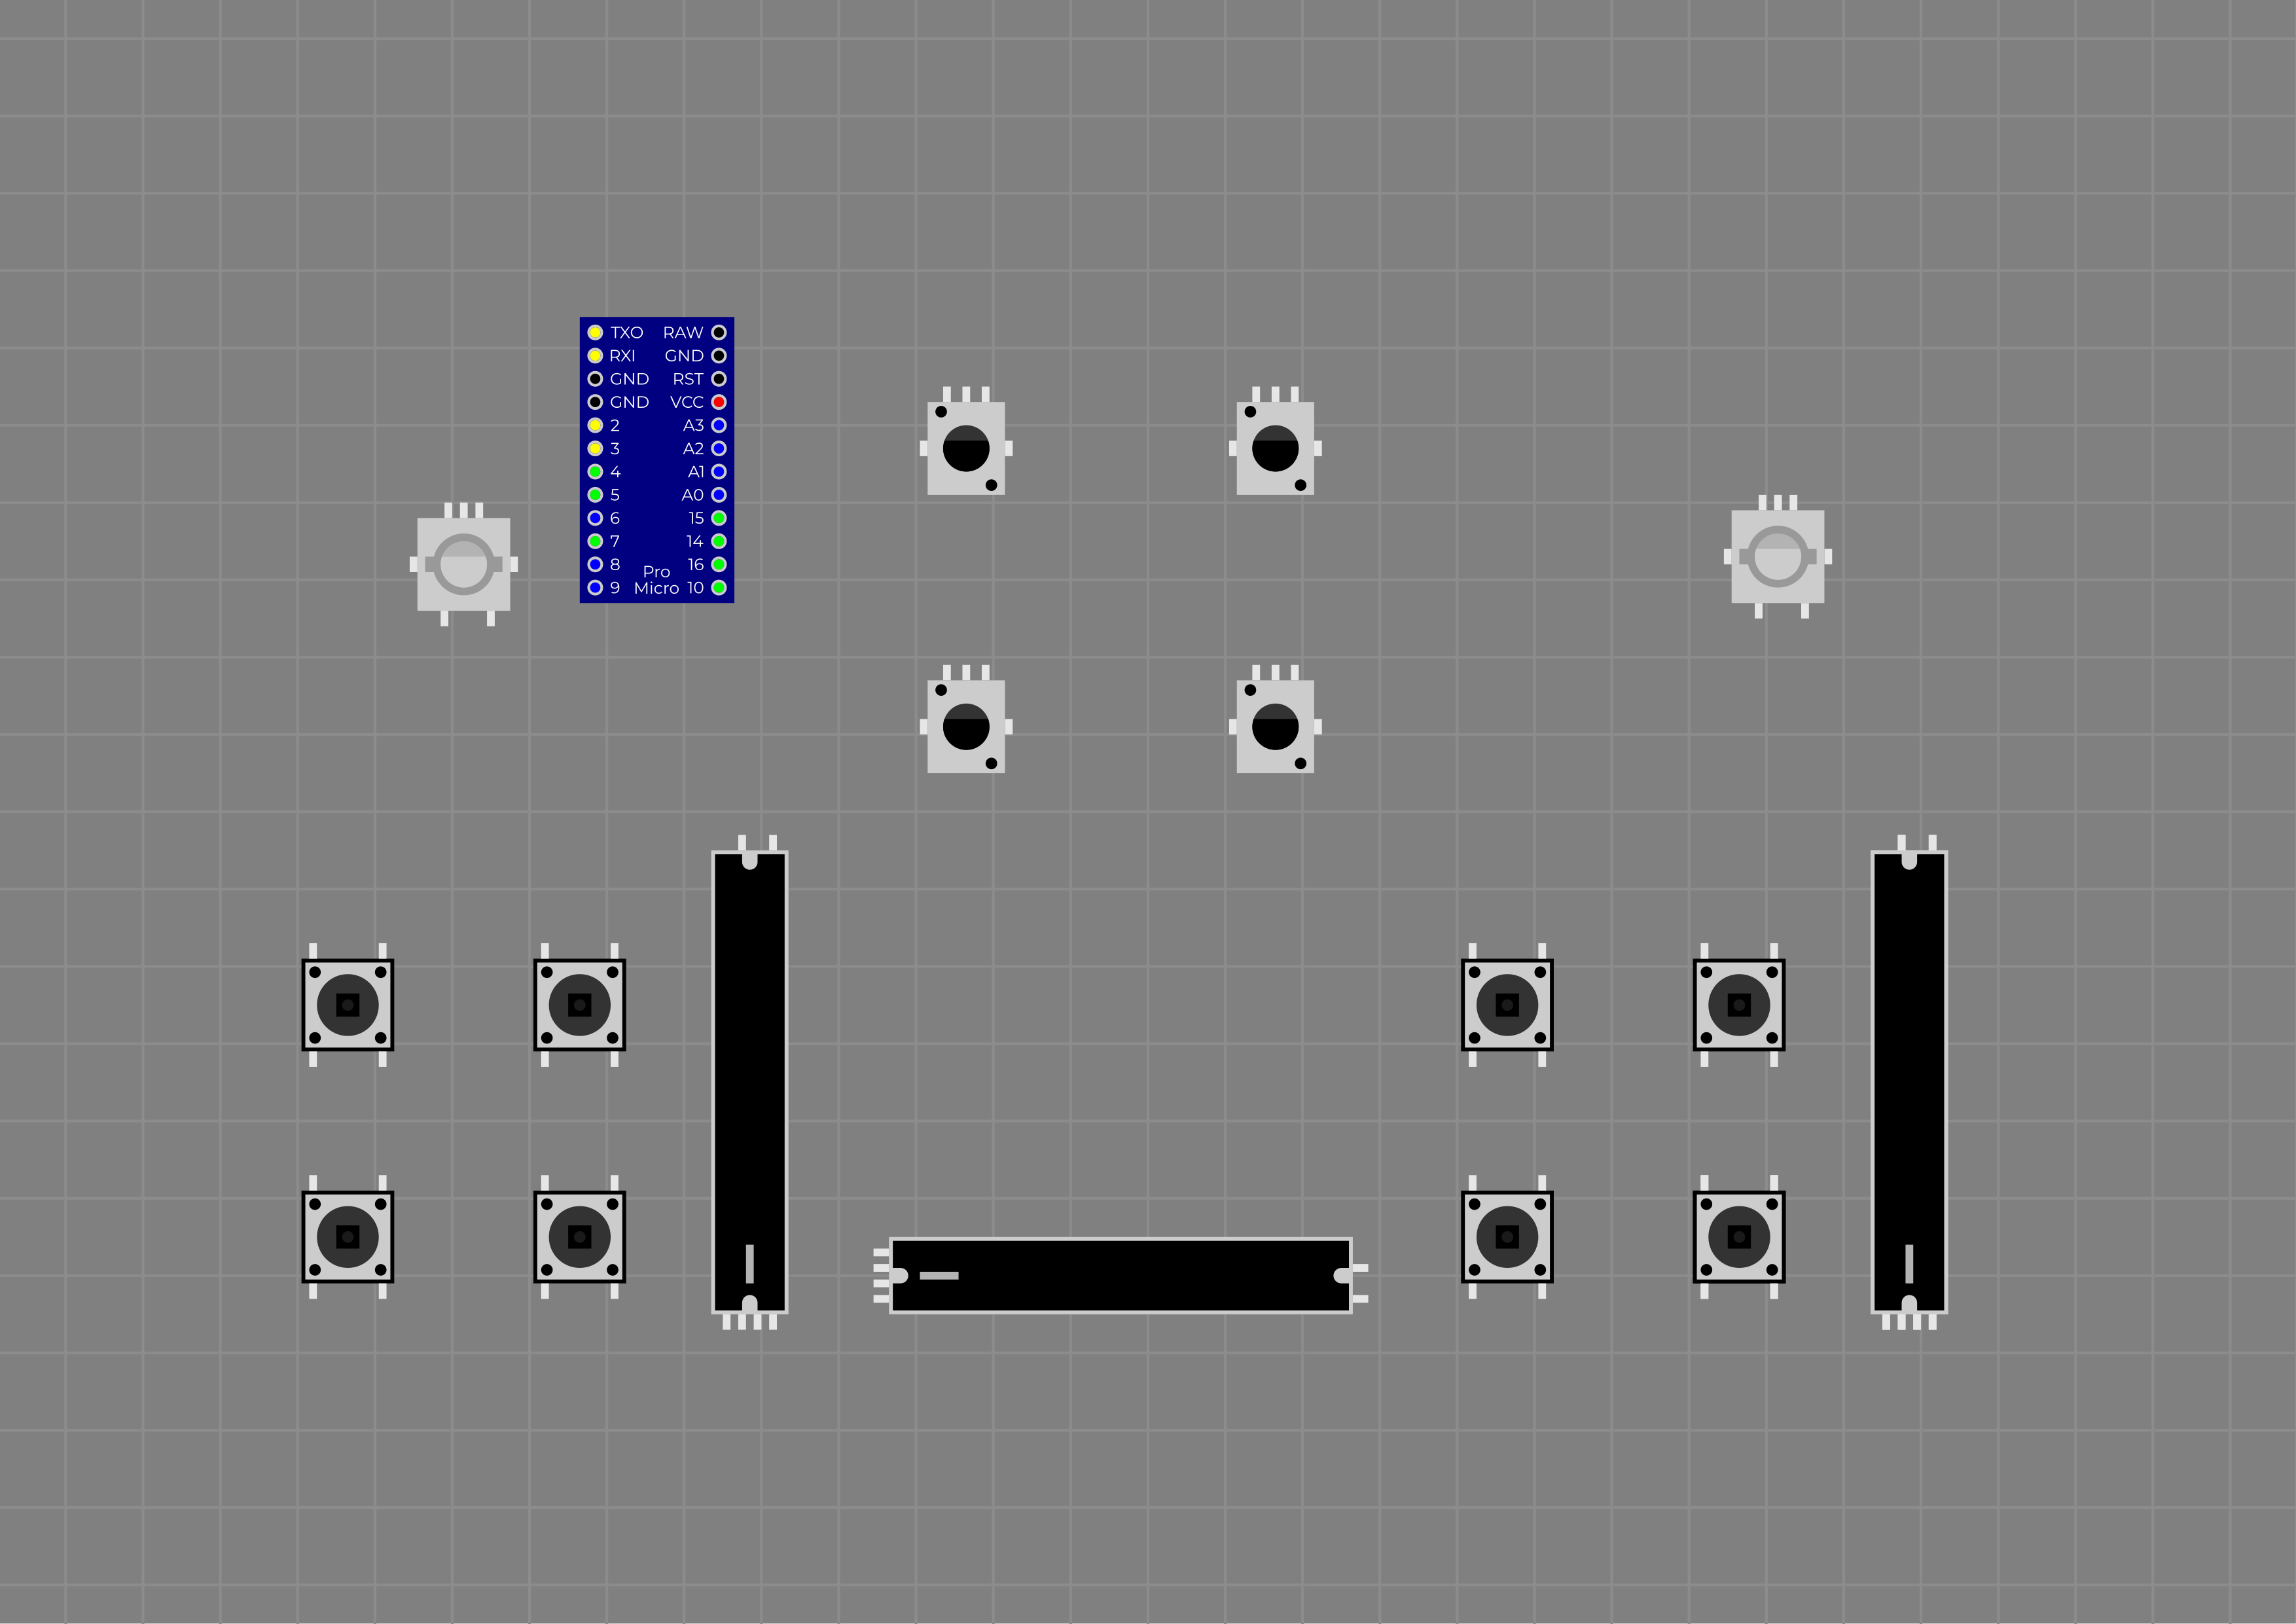
First solder left rotary encoder.
At the beginning, solder the pins from the bottom side of the Arduino.
Use this opportunity to leave more space on the top side for later, because once several electronic components are soldered in place, the Arduino will no longer be movable, and soldering from the bottom side of the pins will no longer be possible.
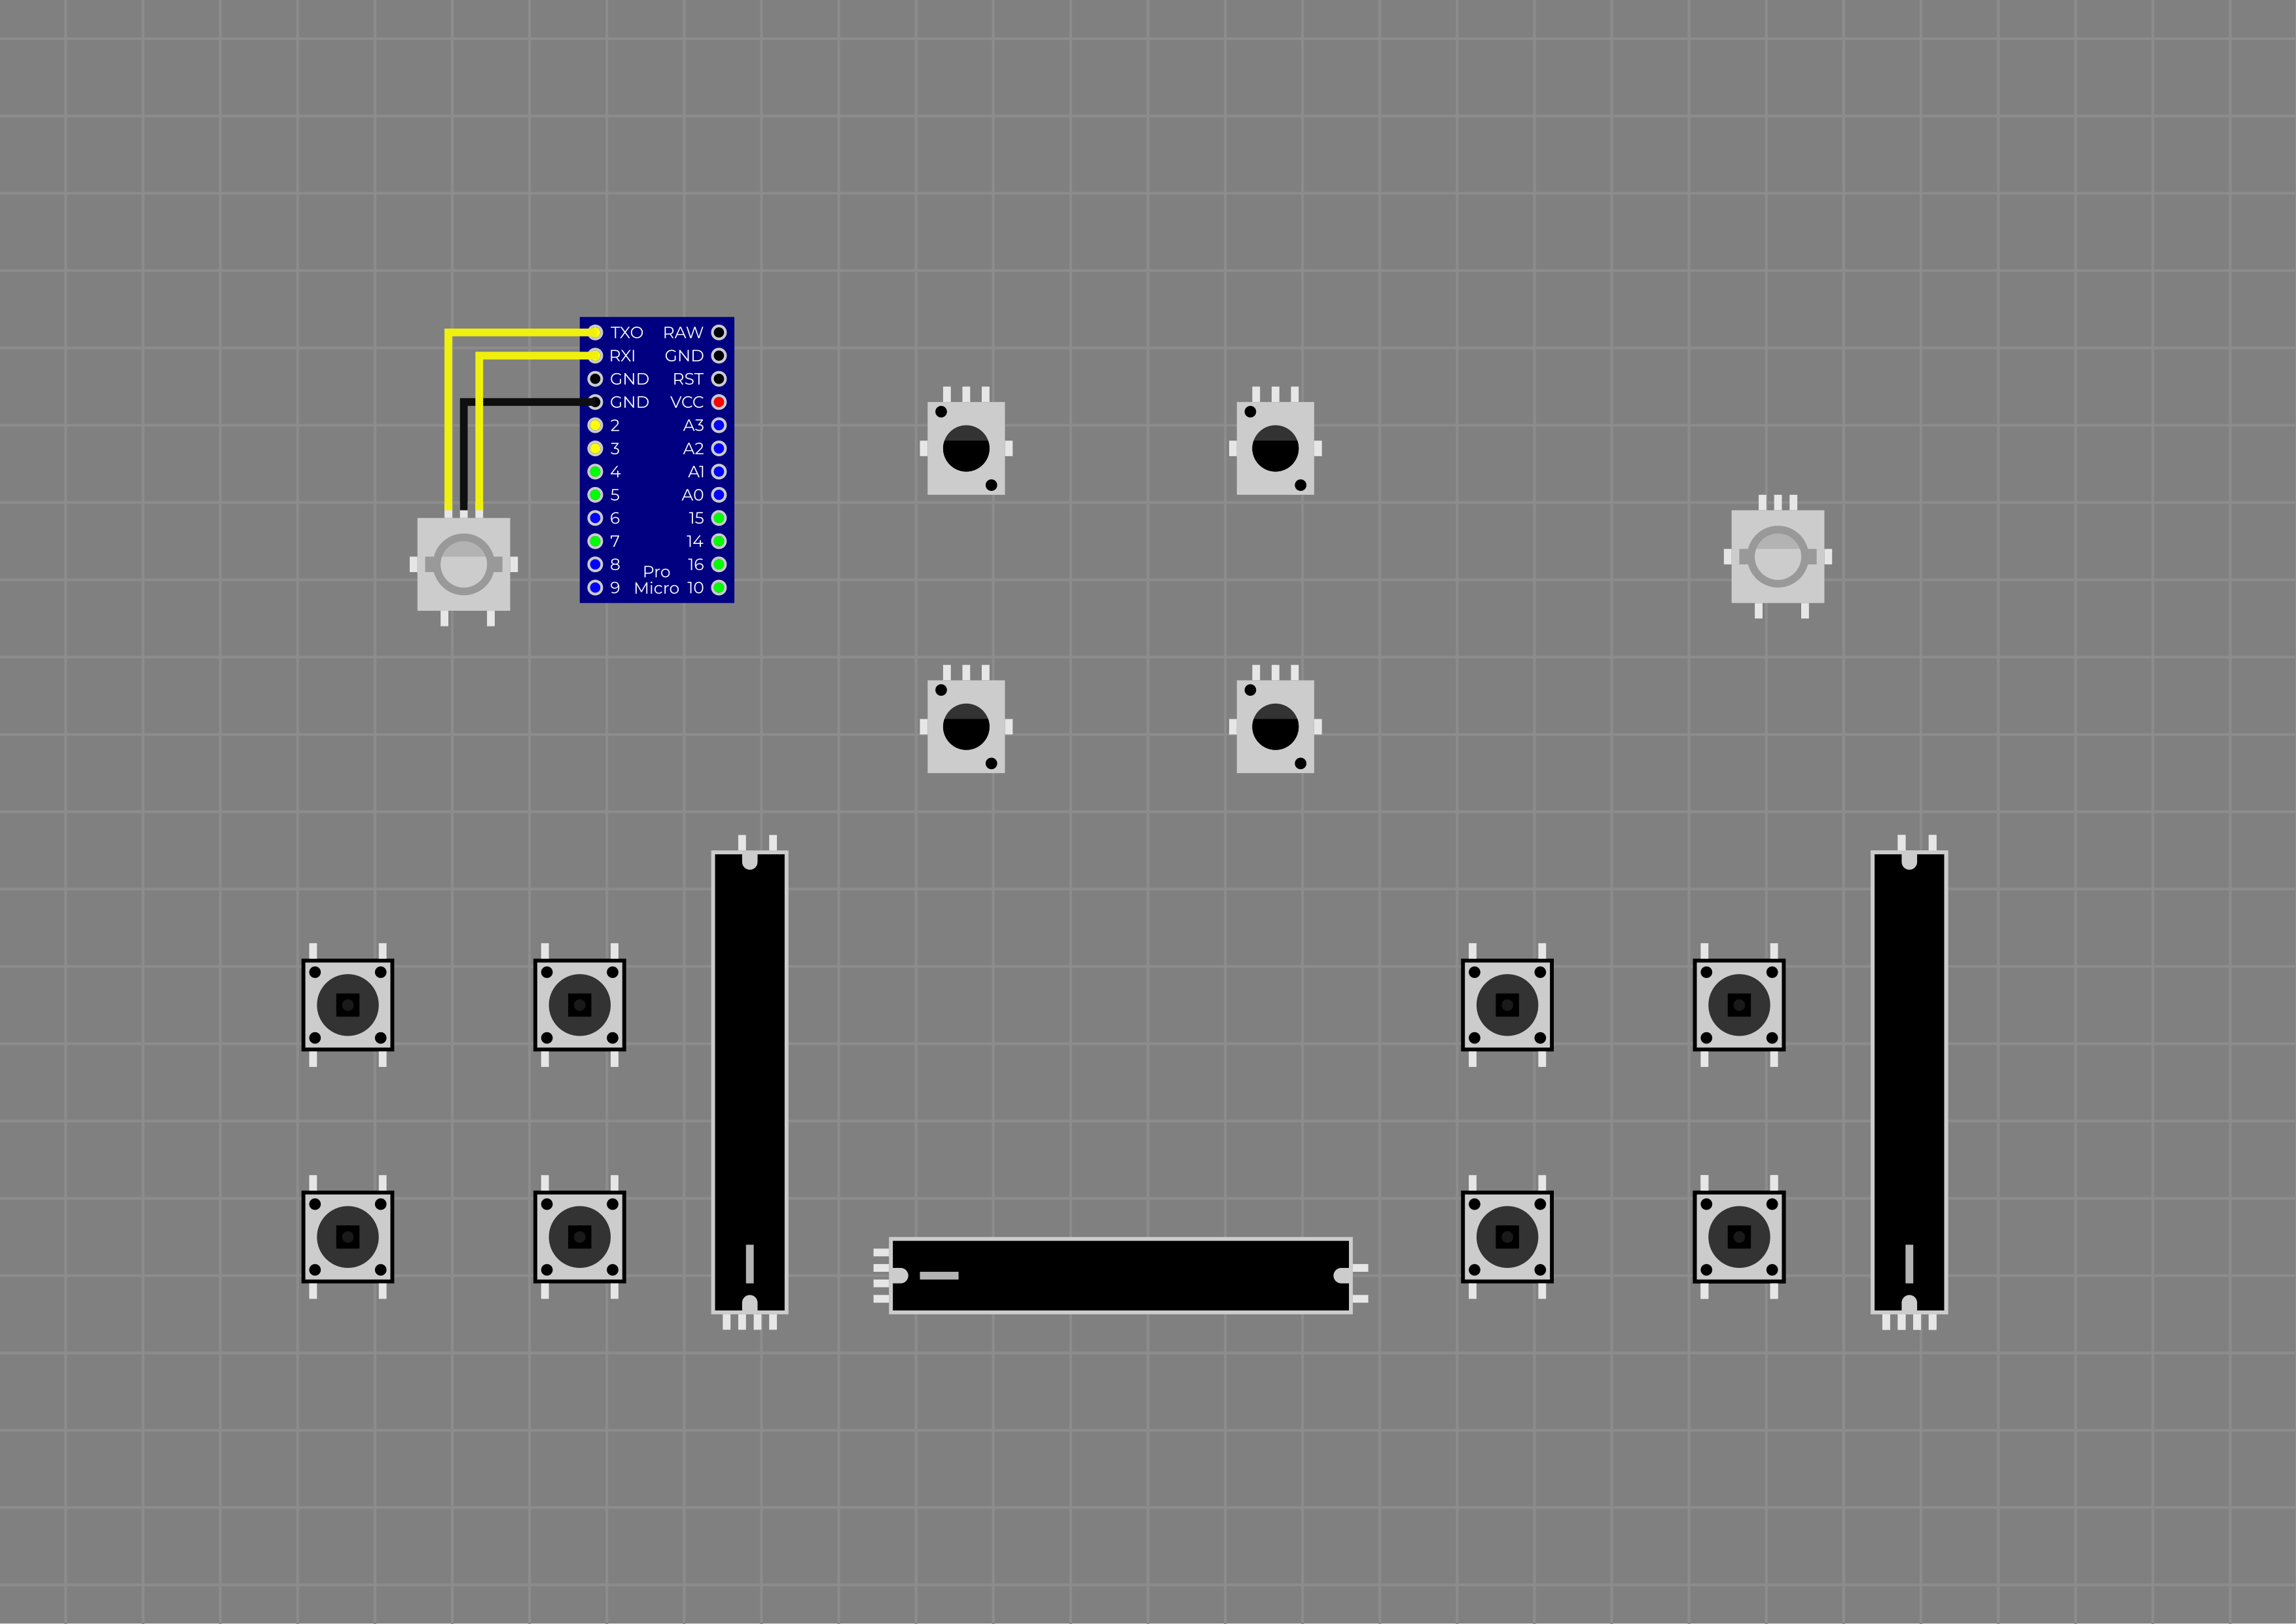
Then solder right rotary encoder.
Also solder the pins from the bottom side.
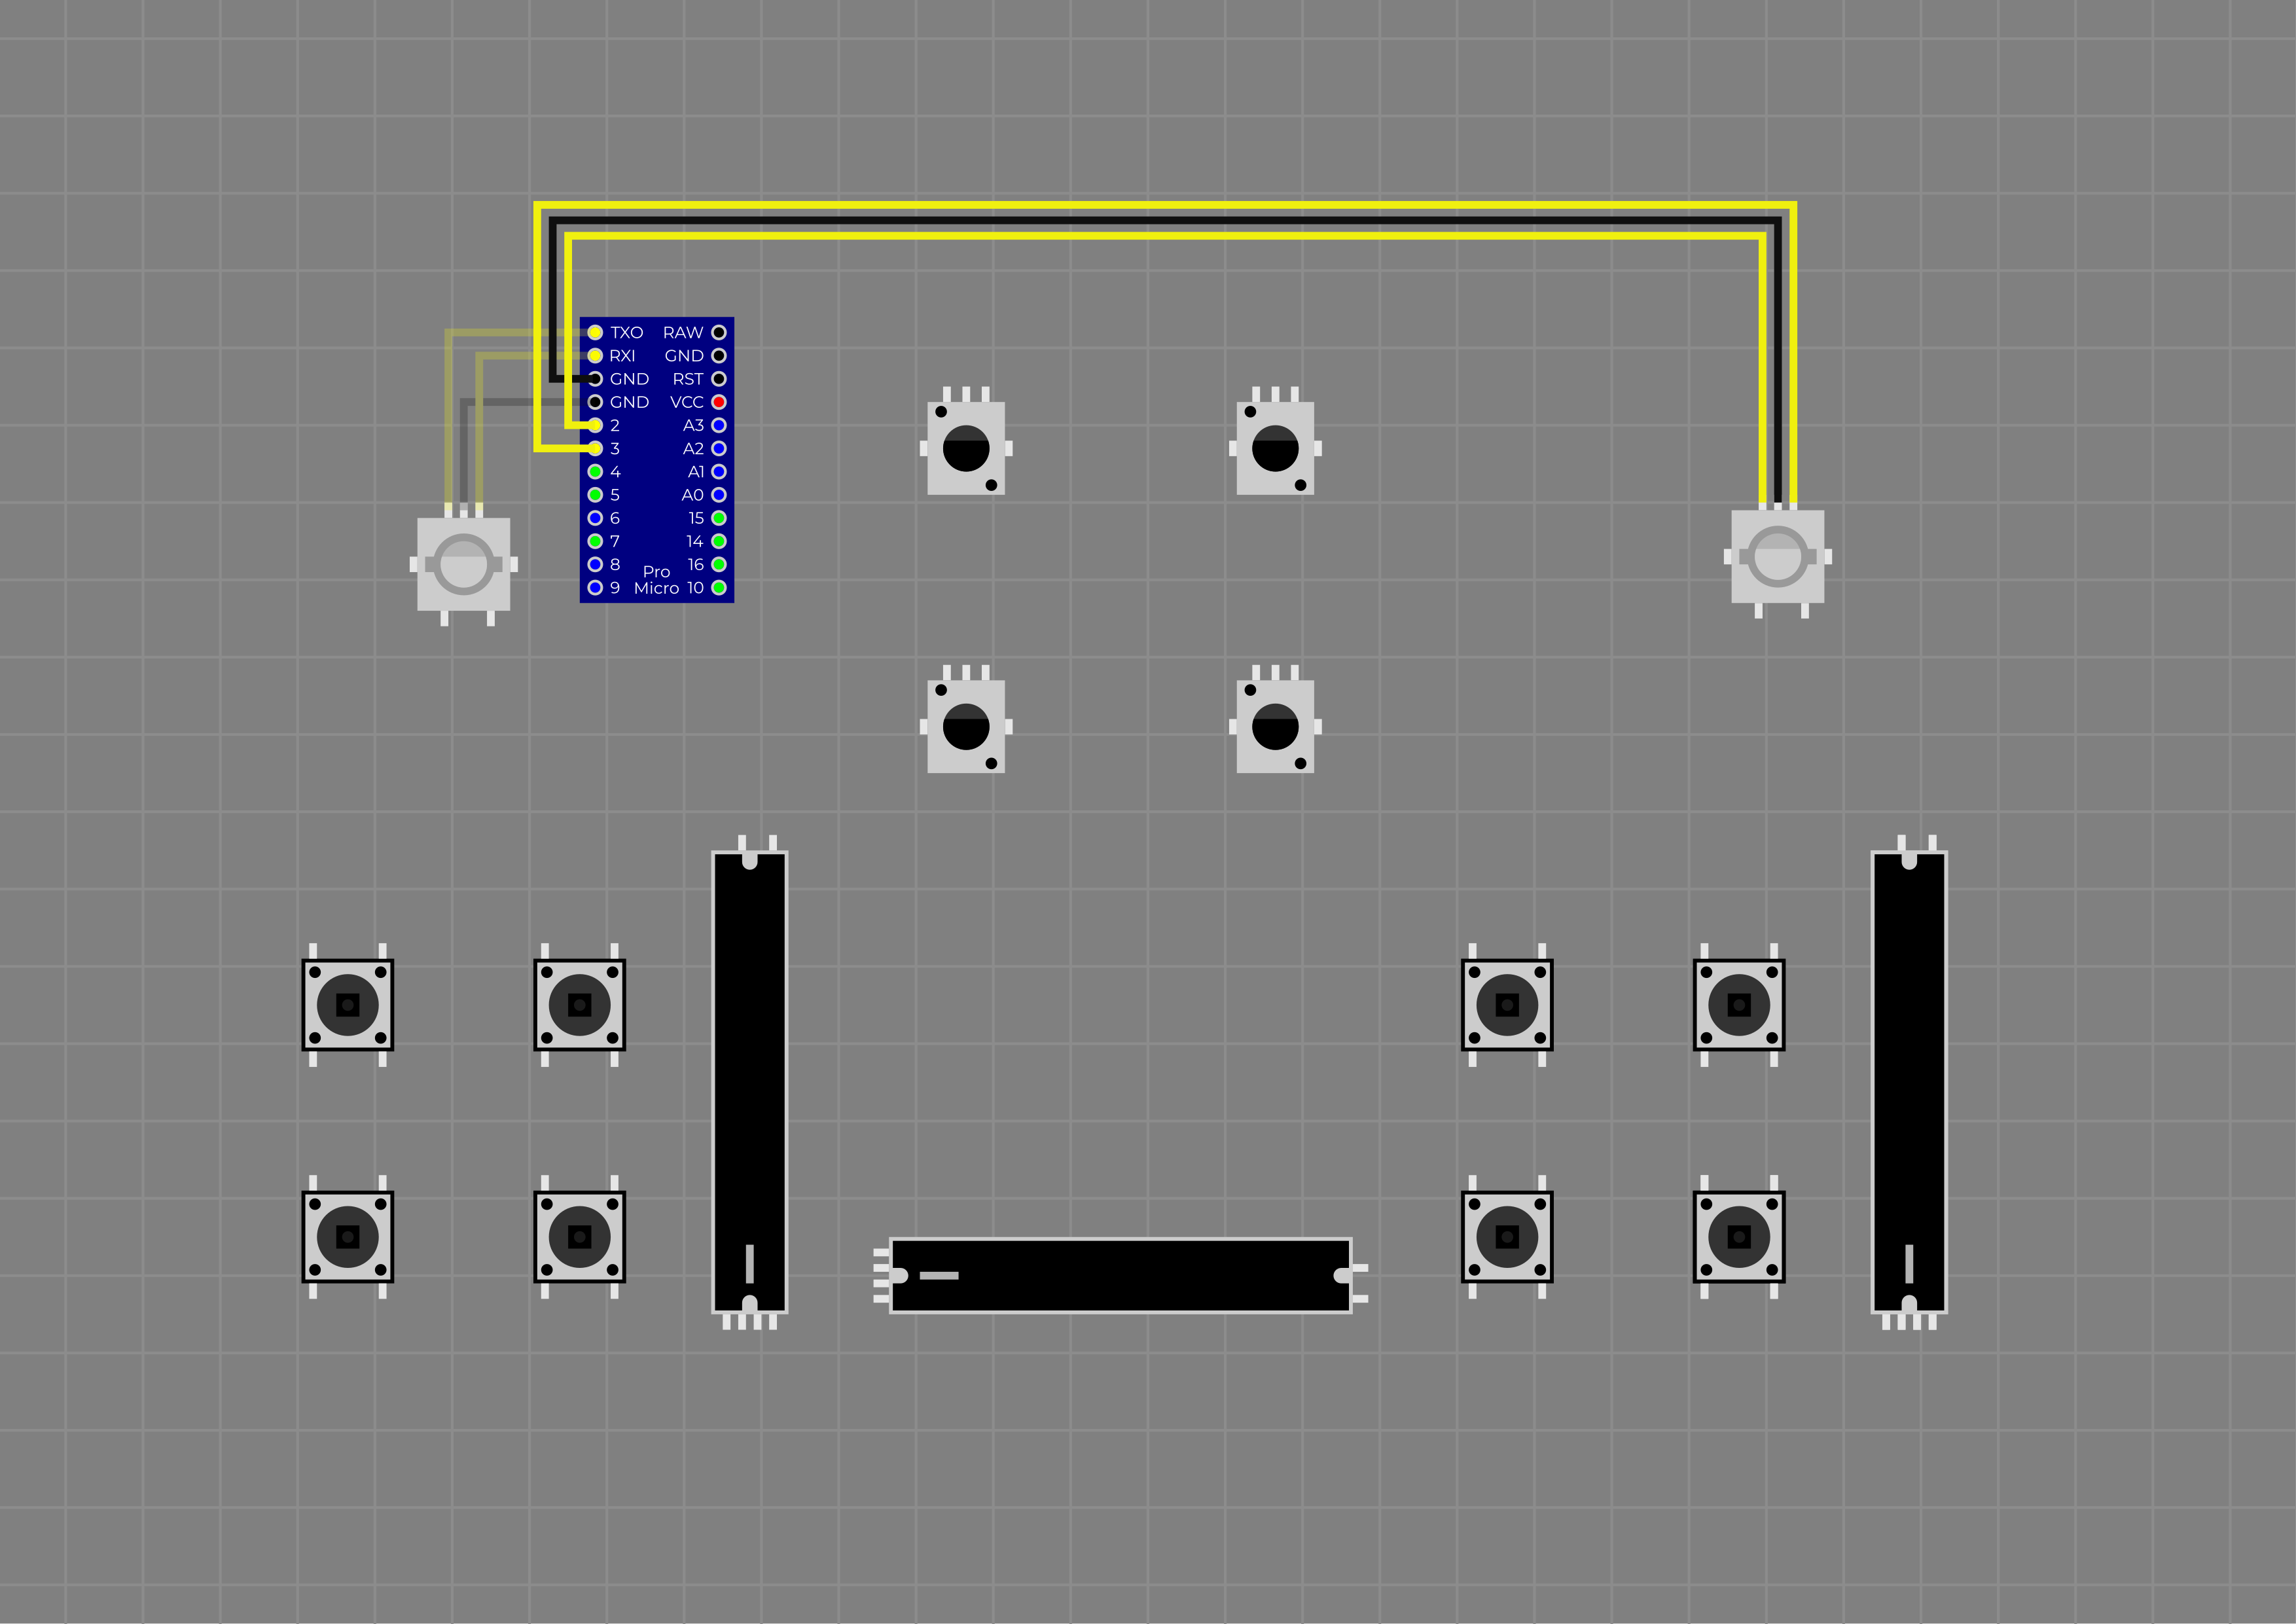
Next are buttons for the left deck.
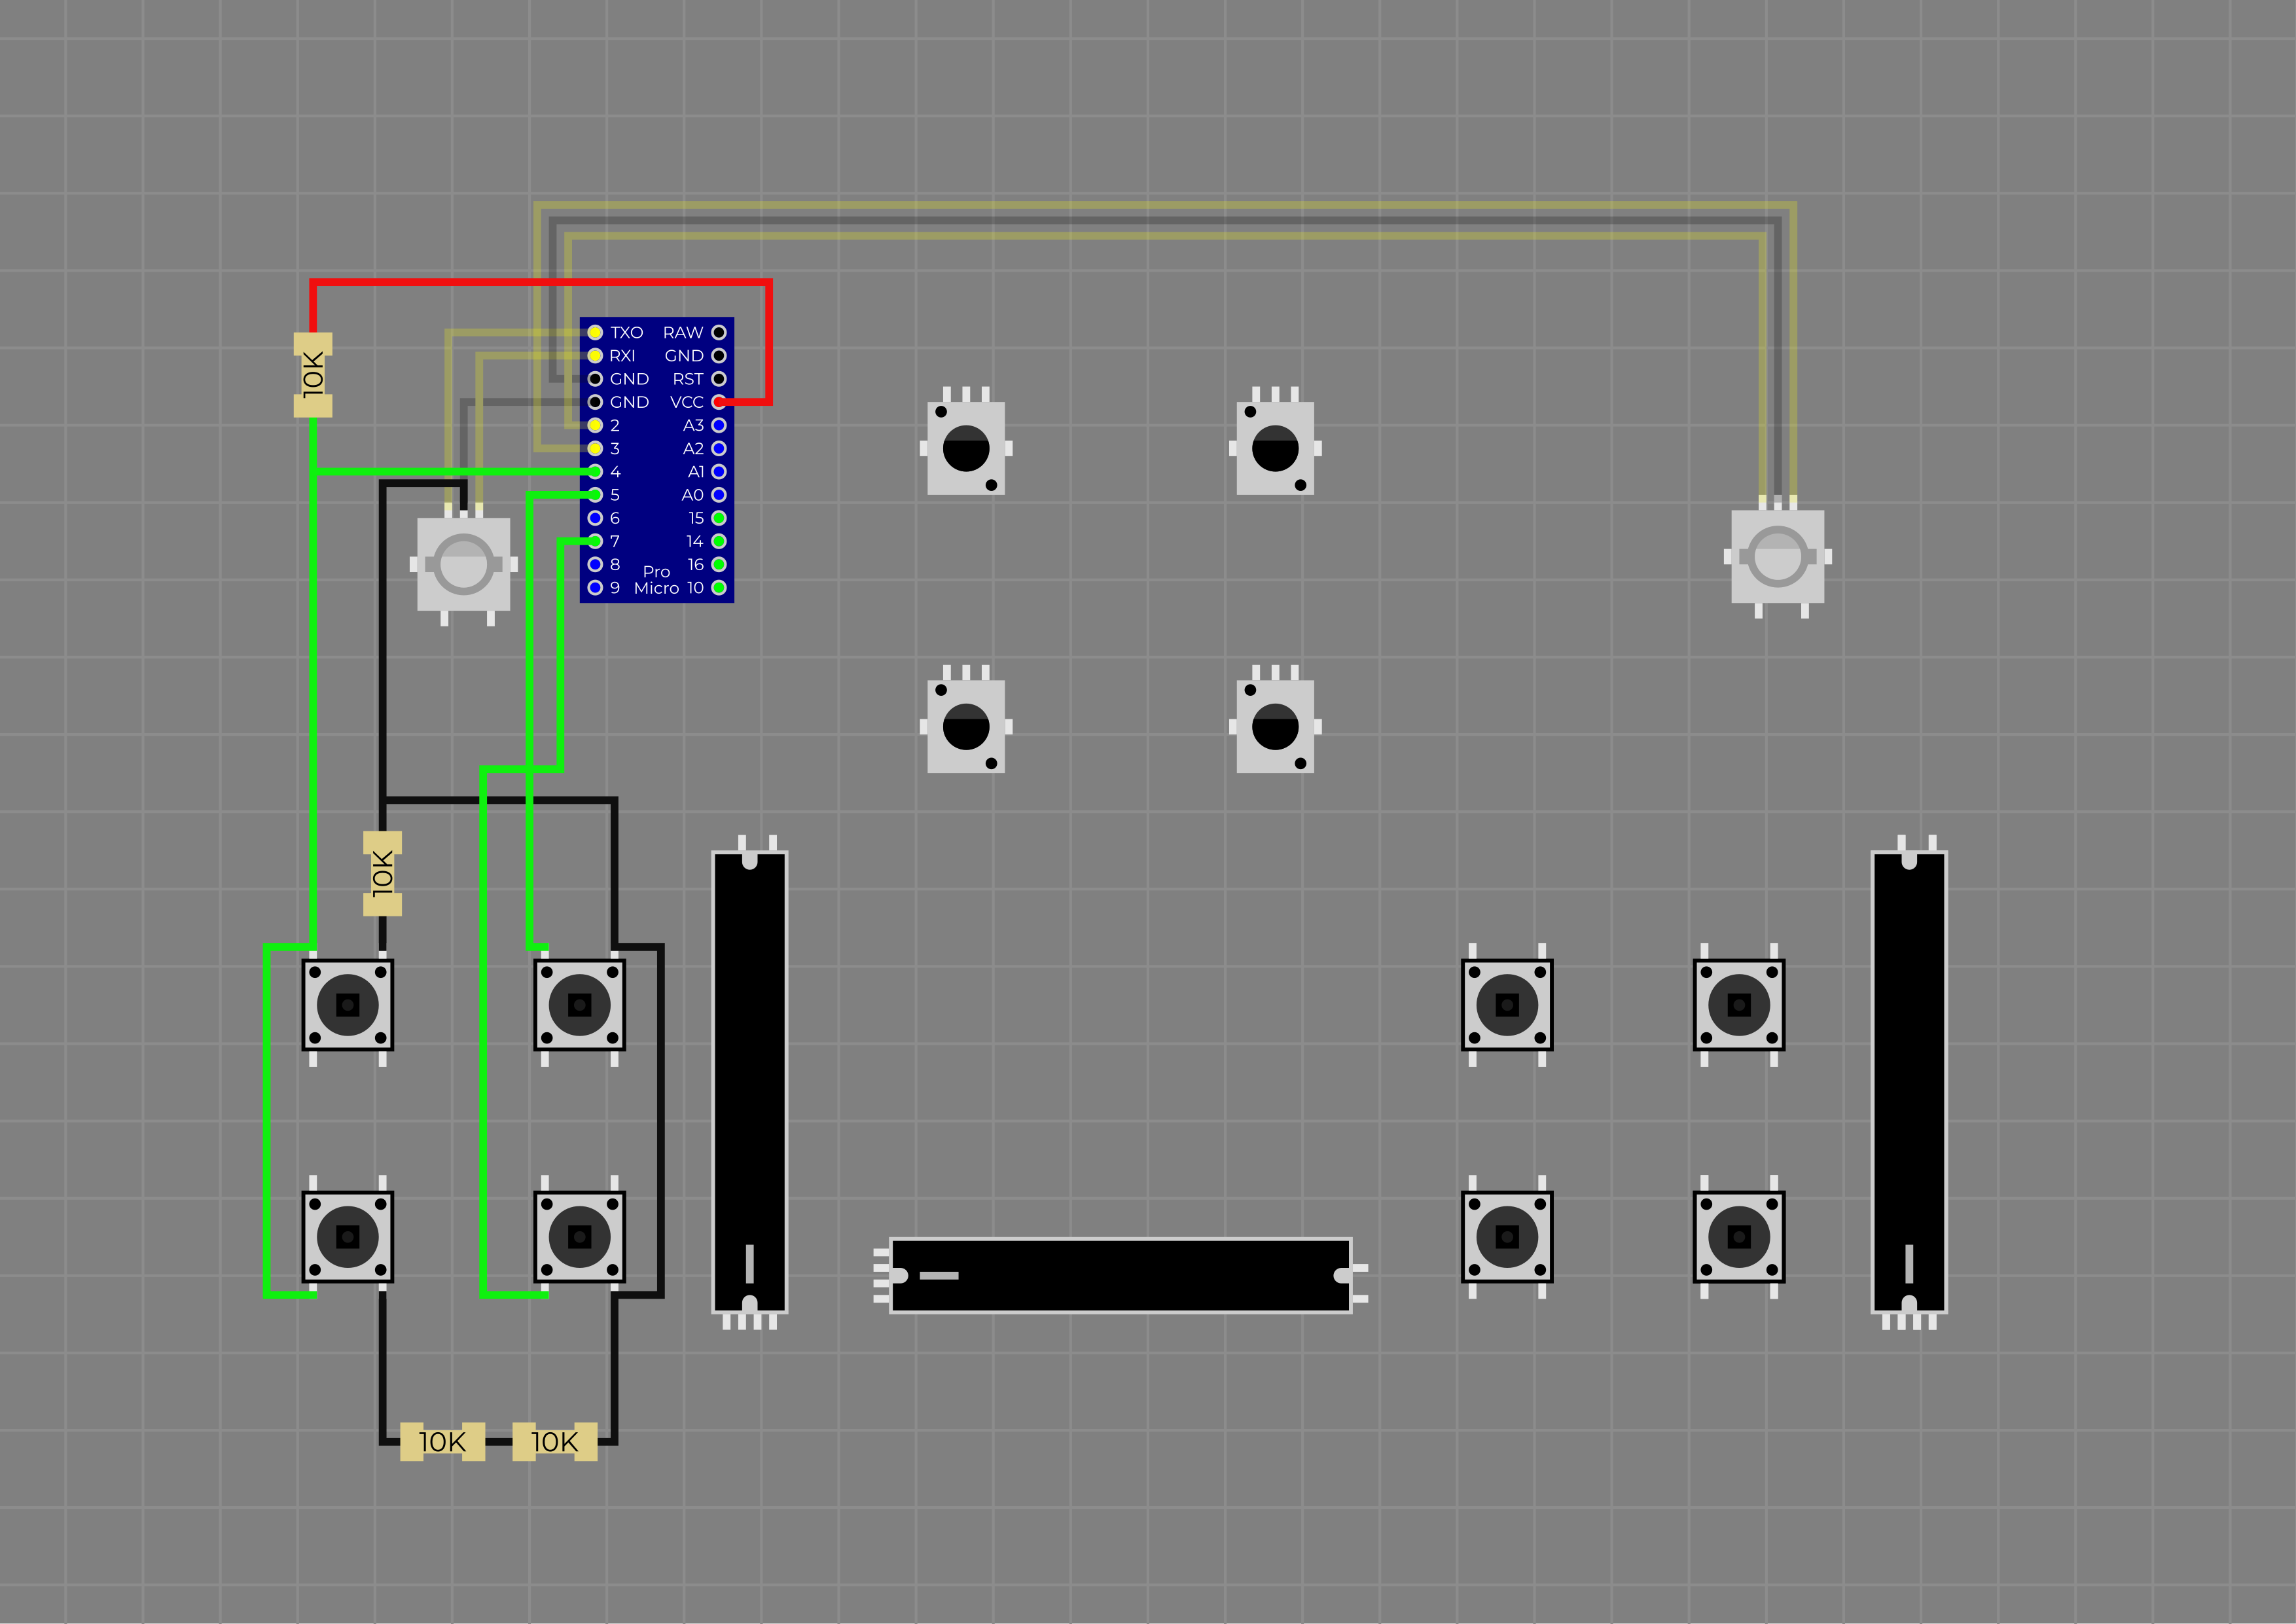
Then buttons for the right deck.
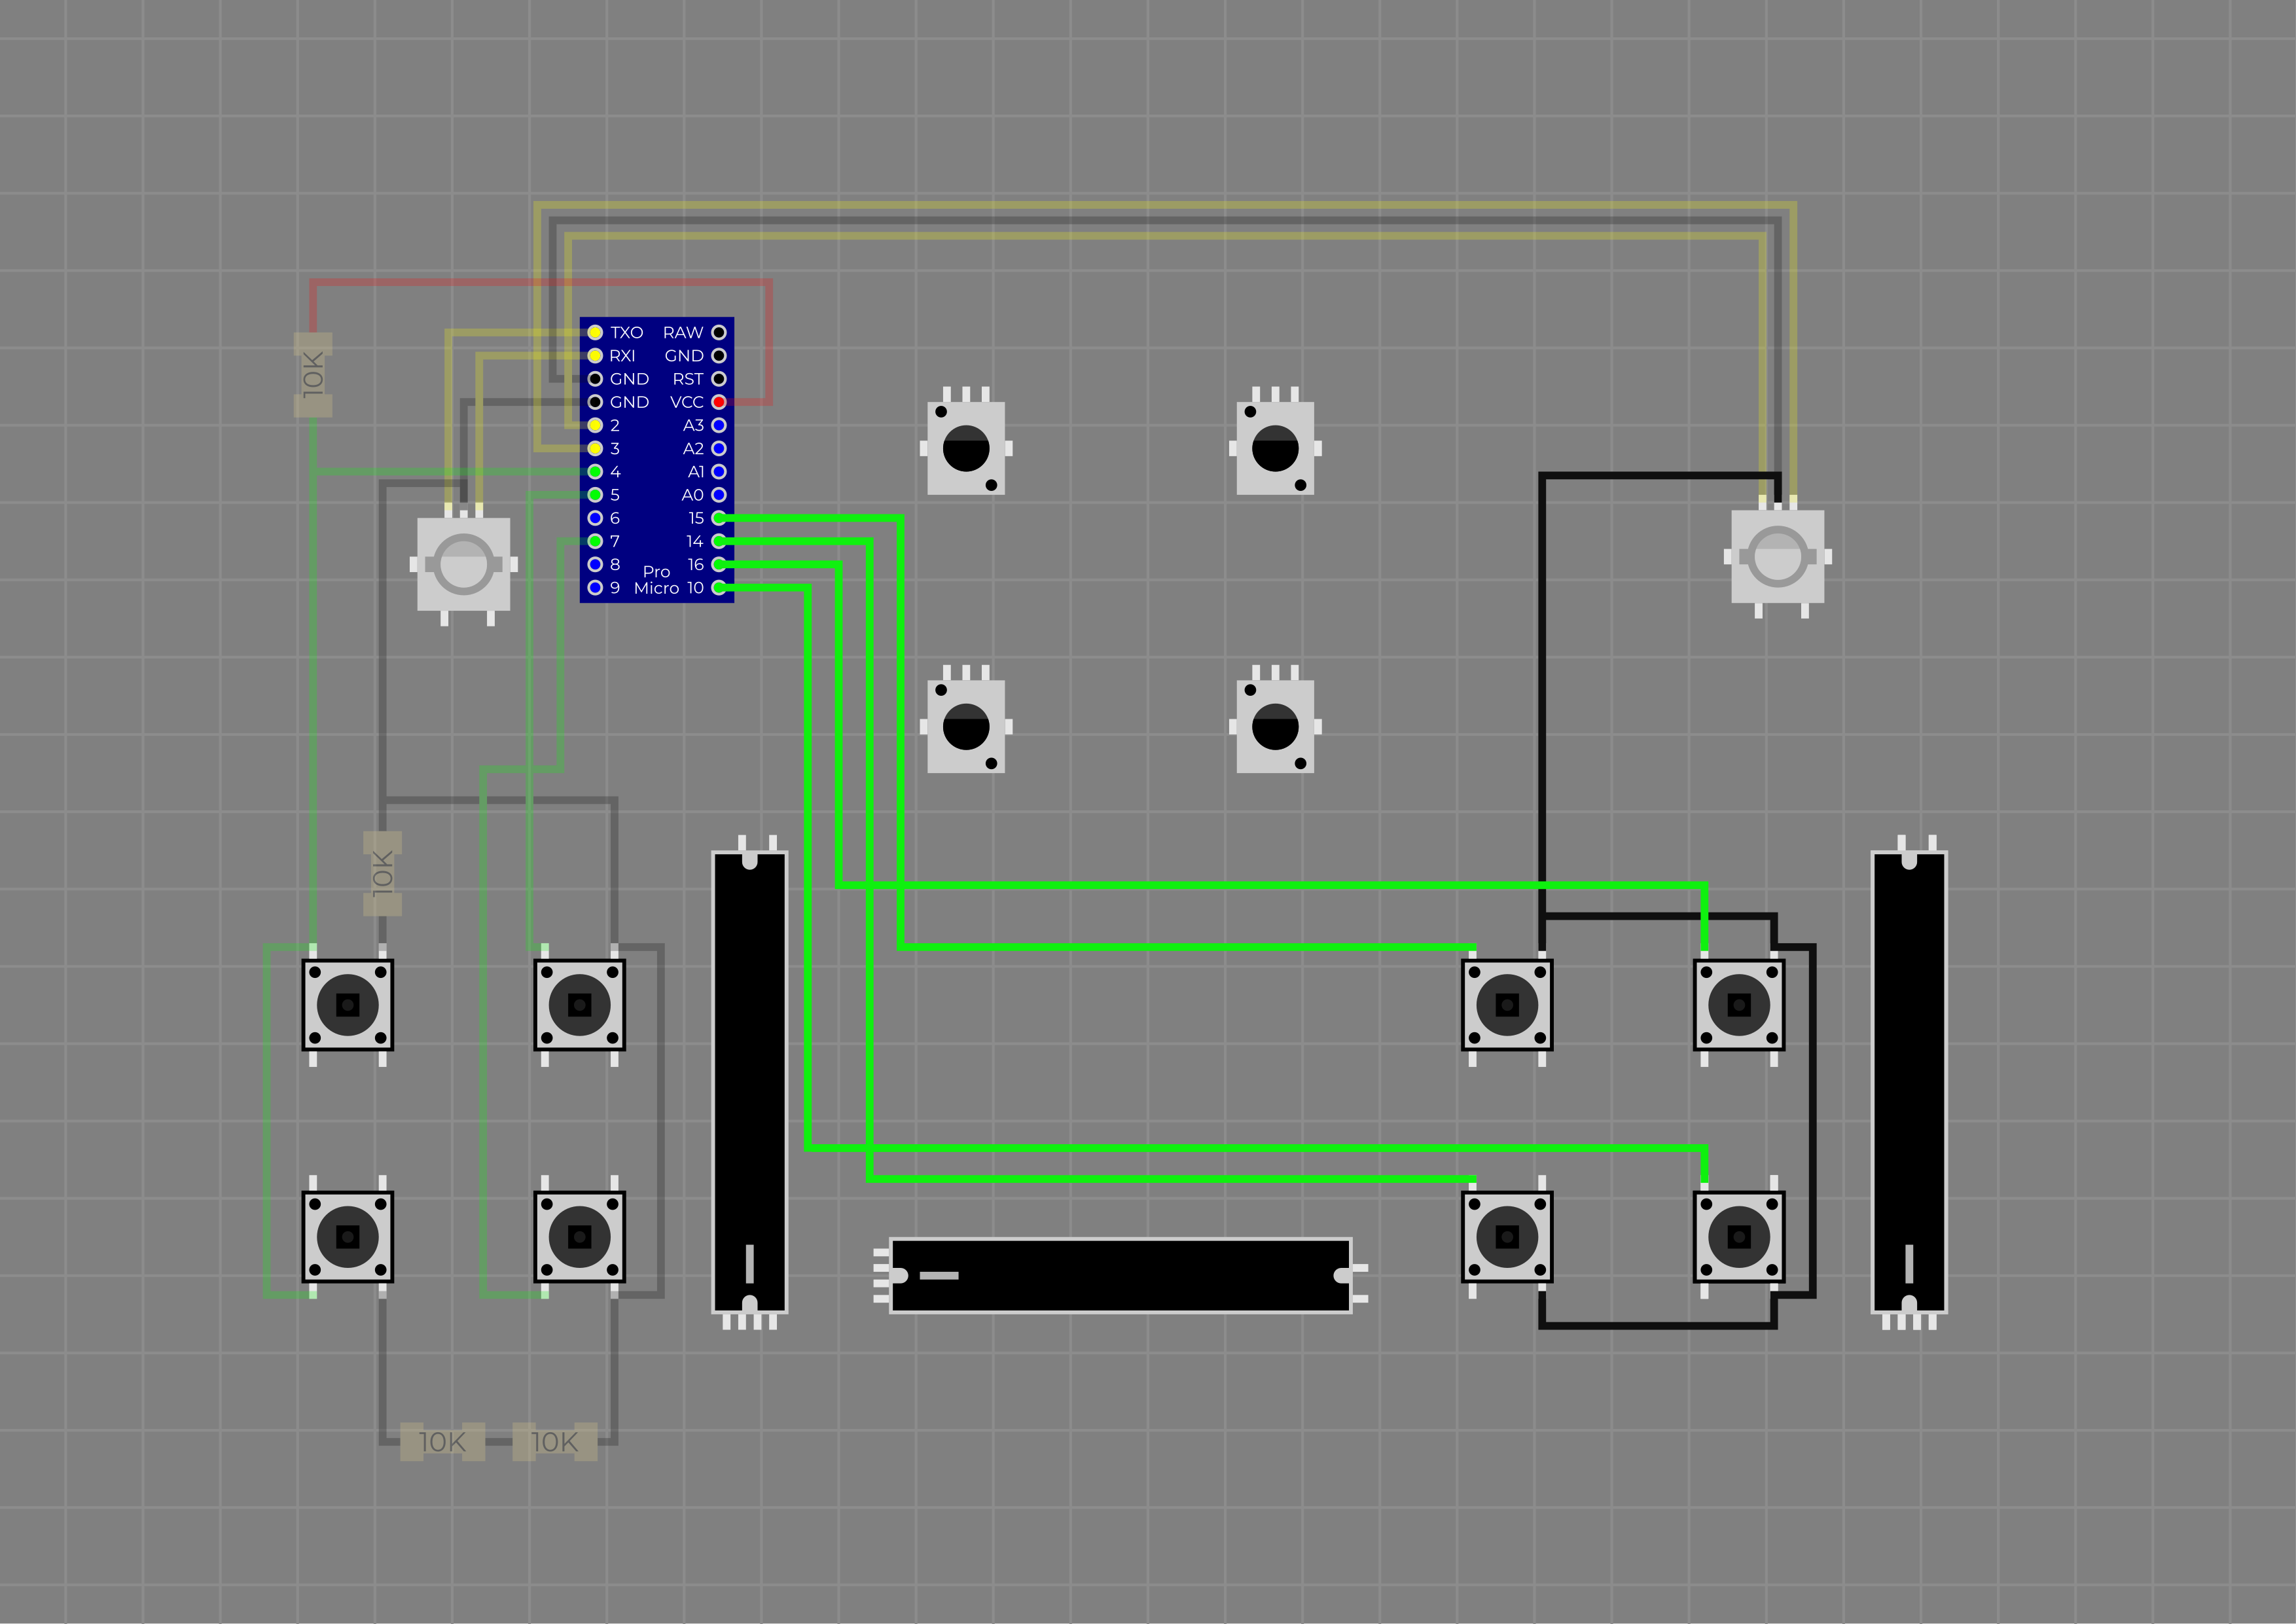
And the last are potentiometers.
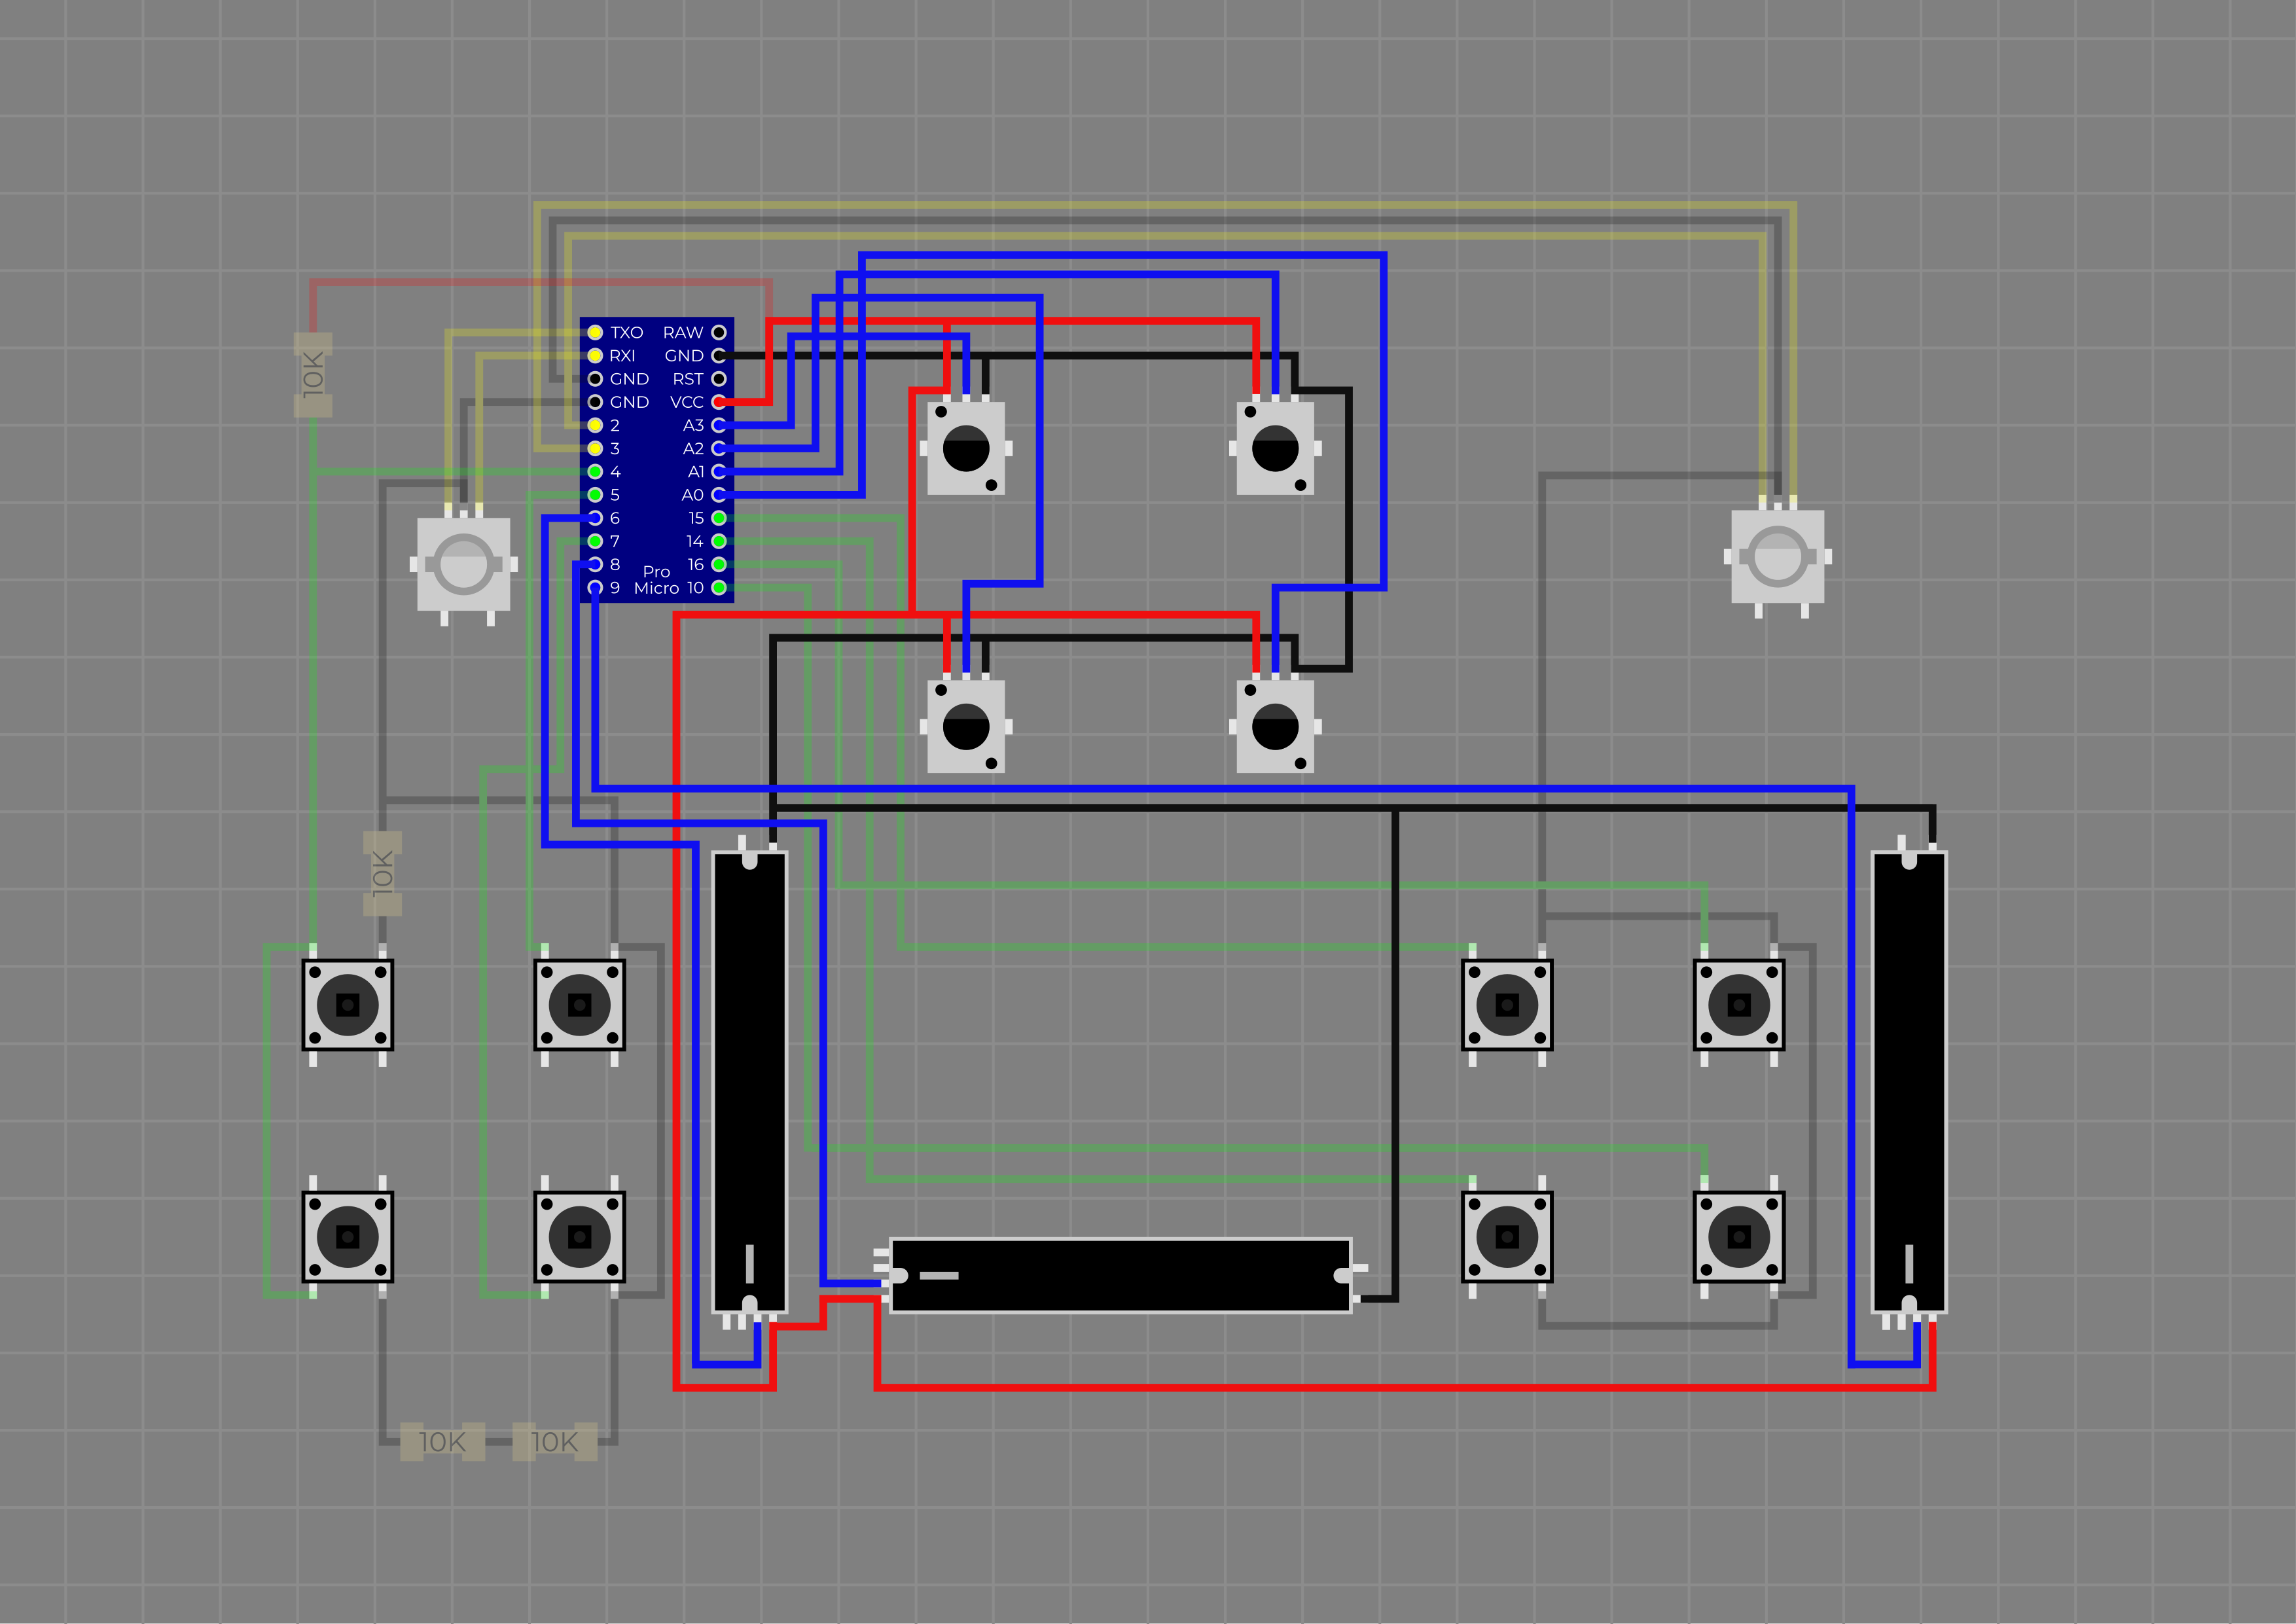
It should look like this when everything is soldered.
Open firmware.ino with Arduino IDE.
Select your board.
If your board is already selected, use it as is. Some arduino clones can only work like that and you can break them otherwise.
Install MIDIUSB library from Gary Grewal.
Then upload the code.
Copy "DJC-DIY.xml" and "DJC-DIY-scripts.js" to "C:\Users\username\AppData\Local\Mixxx\controllers".
Select mapping files by going to the preferences. (Options > Preferences or Ctrl + P)
Go to the controllers tab and choose something like Arduino/ProMicro/Leonardo.
Then go to the load mapping and select DJC-DIY.
Test your device before assembling the rest of the 3D printed parts.
Assemble the rest 3D printed parts.
Feel free to use glue where needed.
Required Software
Download and install the required software.
Licenses
Licensed under GPL-3.0
Licensed under CERN-OHL-S-2.0
FAQ
For now, we're not selling the device or DIY kit.
Currently, out of the box it only works with Mixxx, but the controller sends standard MIDI messages, so it can be manually mapped to other software.